Upcycled earrings tutorial

Paste paper earring makeover

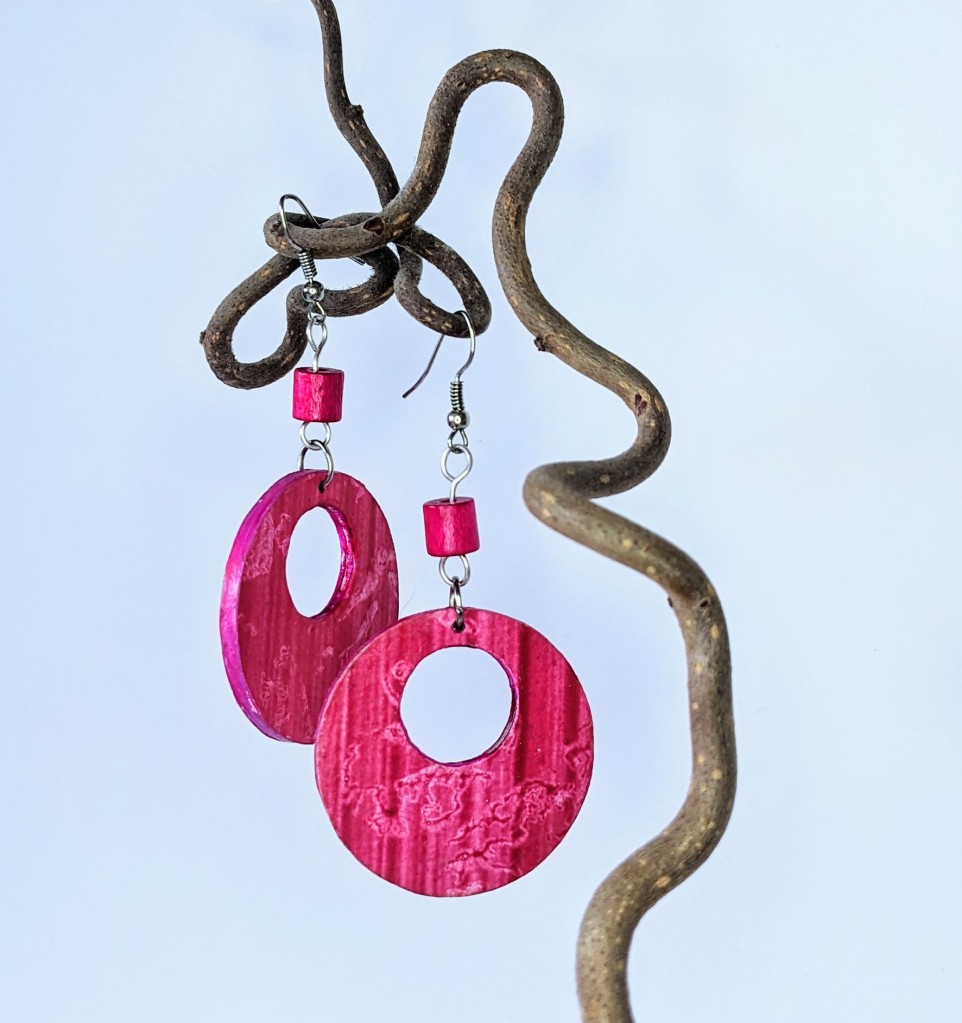
Having had great fun making lots of paste papers I decided to use some to make over a pair of earrings I was given a few years ago to suit my own taste. If you fancy having a go I’ve written a little tutorial.

Paste Paper Earring Tutorial

You will need:

  • A pair of flat earrings to make over
  • Pretty paper – your own painted paper or scrapbook paper
  • Paper scissors
  • Craft knife and cutting mat
  • complementary or contrasting bead
  • small amount of 20 gauge wire
  • wire cutters, round nose and flat nose pliers
  • PVA (or similar like Elmer’s glue) and brush to spread it
  • Pencil
  • Paint/Sharpie to match or contrast (optional)
  • Acrylic wax, Mod Podge or varnish to seal

The first step is to take your earrings apart. Mine were wooden discs hung on ear wires. I kept the jump ring to reuse at the end. Make sure you use your flat nose pliers to bend the ring sideways rather than pulling them open, as this weakens the wire, plus it’s hard to keep the shape. I hope that makes sense.

Choose your favourite part of the paper and draw round the earring four times, then cut out, slightly outside the line. If, like me you have a hole in the middle cut it out before sticking down. You can lightly fold the middle and snip into the hole before cutting it out.

Spread PVA (or similar white glue) onto the paper and then stick it to one side of the earring. I found I could slide the paper around to position it where I liked. Do one side then leave to dry.
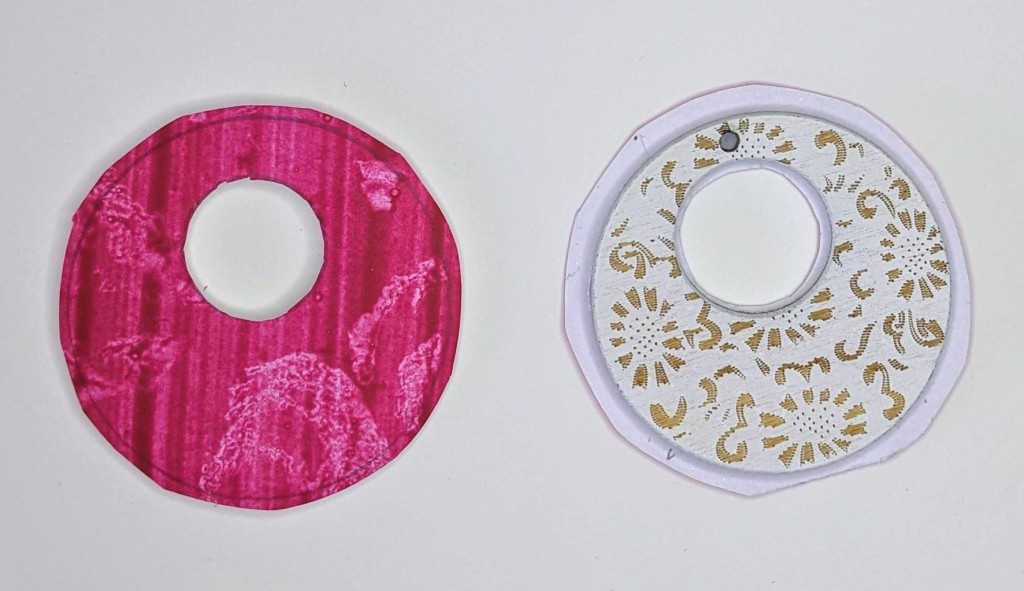
Here are my earrings with the first side glued down. Initially I planned to leave the original pattern for the back, but in the end I felt it didn’t work, as they were too different, so I covered both sides.

I also ended up colouring the white edges at the end, but if you want to do yours now is a good time. When the paper is dry use scissors or a craft knife to trim the paper close to the edge. Use a sharp point such as a needle or the point of a pair of compasses to reopen the hole. Make sure you push from the front to the back so that the edges stay smooth.

While the paper is drying take your bead and thread it onto the wire. Using your round nose pliers make a loop in the end of the wire, then cut the wire about 1cm beyond the bead and make another loop. Trim any excess wire.

Glue your second side of paper onto the back of the earrings, sliding into place. Trim again when dry and reopen the hole from the side you have just stuck down. Paint or colour your edges if you haven’t already and leave to dry.

My earrings before the edges were coloured

Finally, it’s a good idea to seal your earrings to protect them as they are paper. I used Acrylic wax, which can be buffed to a soft shine, but something like Mod Podge would work, or a spray varnish – whatever you have.

The final step is to reassemble the earrings. Put the jump rings back through the holes, and add the bead, then close the ring using flat nose pliers. Then open the top loop and add your ear wires, and now you’re ready to show off your new earrings.
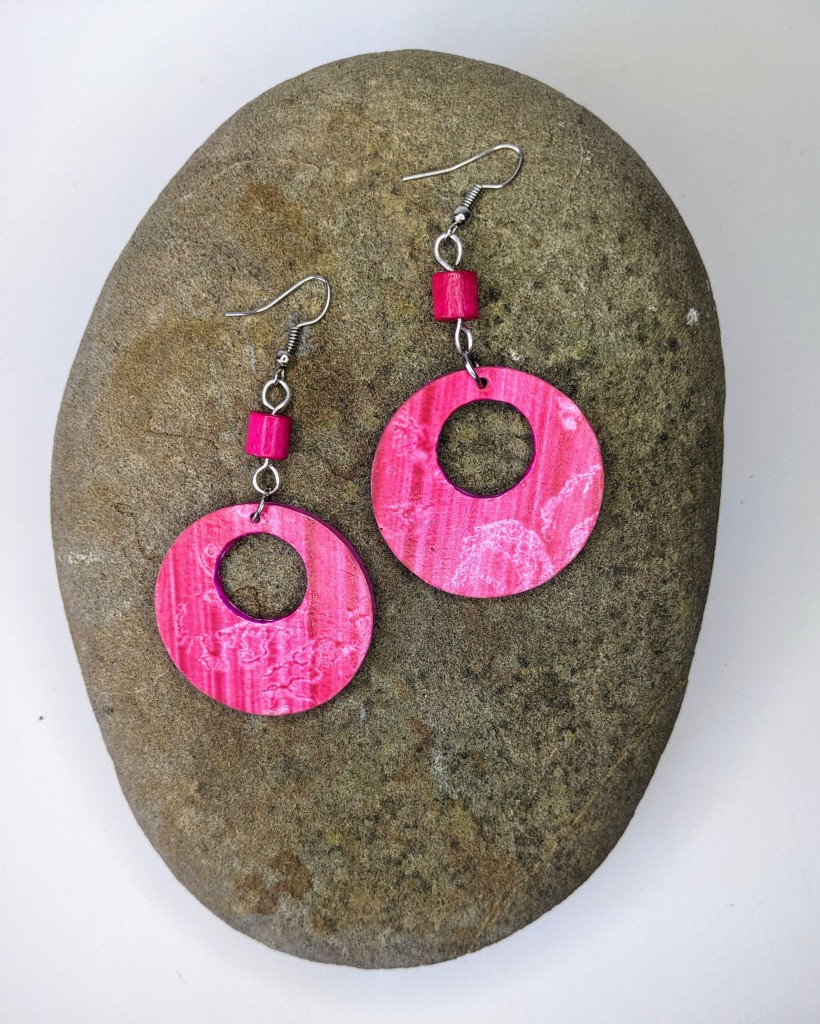
Upcycled earrings

If you decide to have a go I’d love to see what you did.

Paper beads and jewellery

When my week’s holiday was unexpectedly extended by another couple of weeks by a positive COVID test I got really into making paper beads. It’s quite addictive. I have turned some of my beads into jewellery, but the stash keeps on growing.

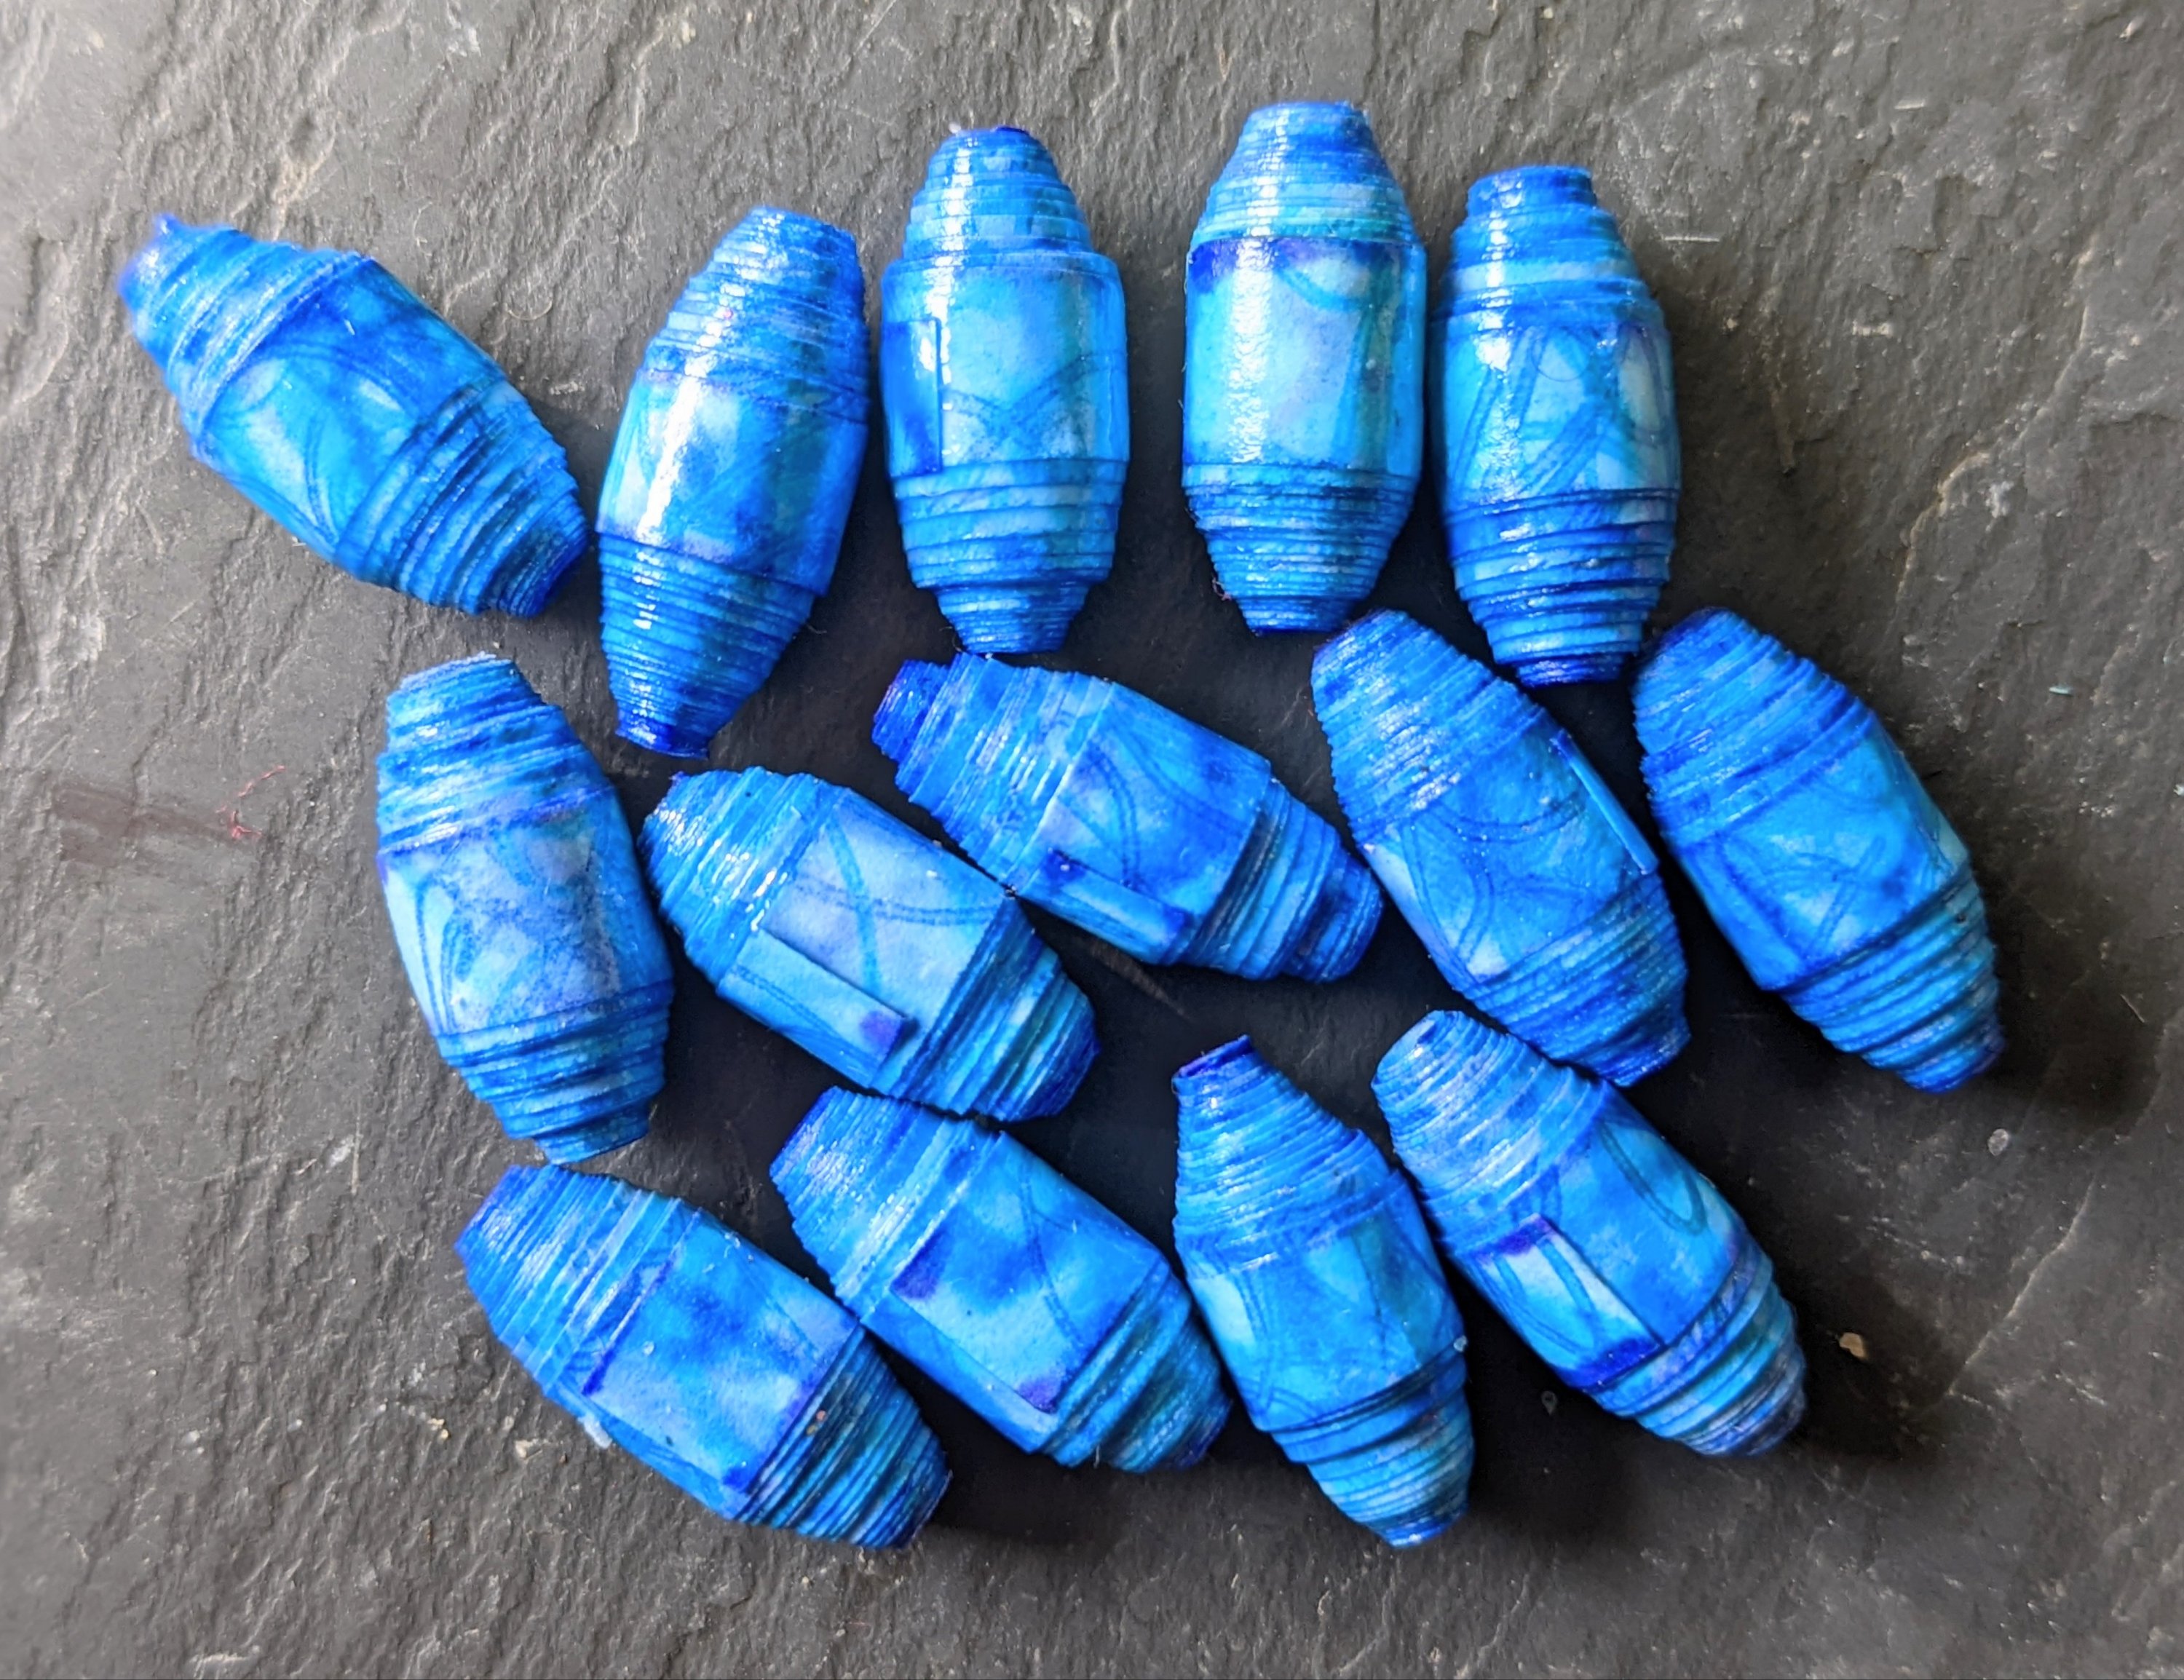
Small 1cm hand coloured paper beads
Conical beads with metallic paint ends
Recycled magazine teardrop beads
Small 1.5 cm paper beads
Large 3cm paper beads
Assorted small beads

The large beads are made using cartridge paper, which I painted with Koh-i-Noor dyes. The others are copier paper, which I coloured using felt pens and gel pens.

I’ve experimented with various ways of sealing the beads including acrylic medium, acrylic wax and UTEE. I do like UTEE (ultra-thick embossing enamel) as it creates a lovely glossy finish. The magazine beads are finished with it.

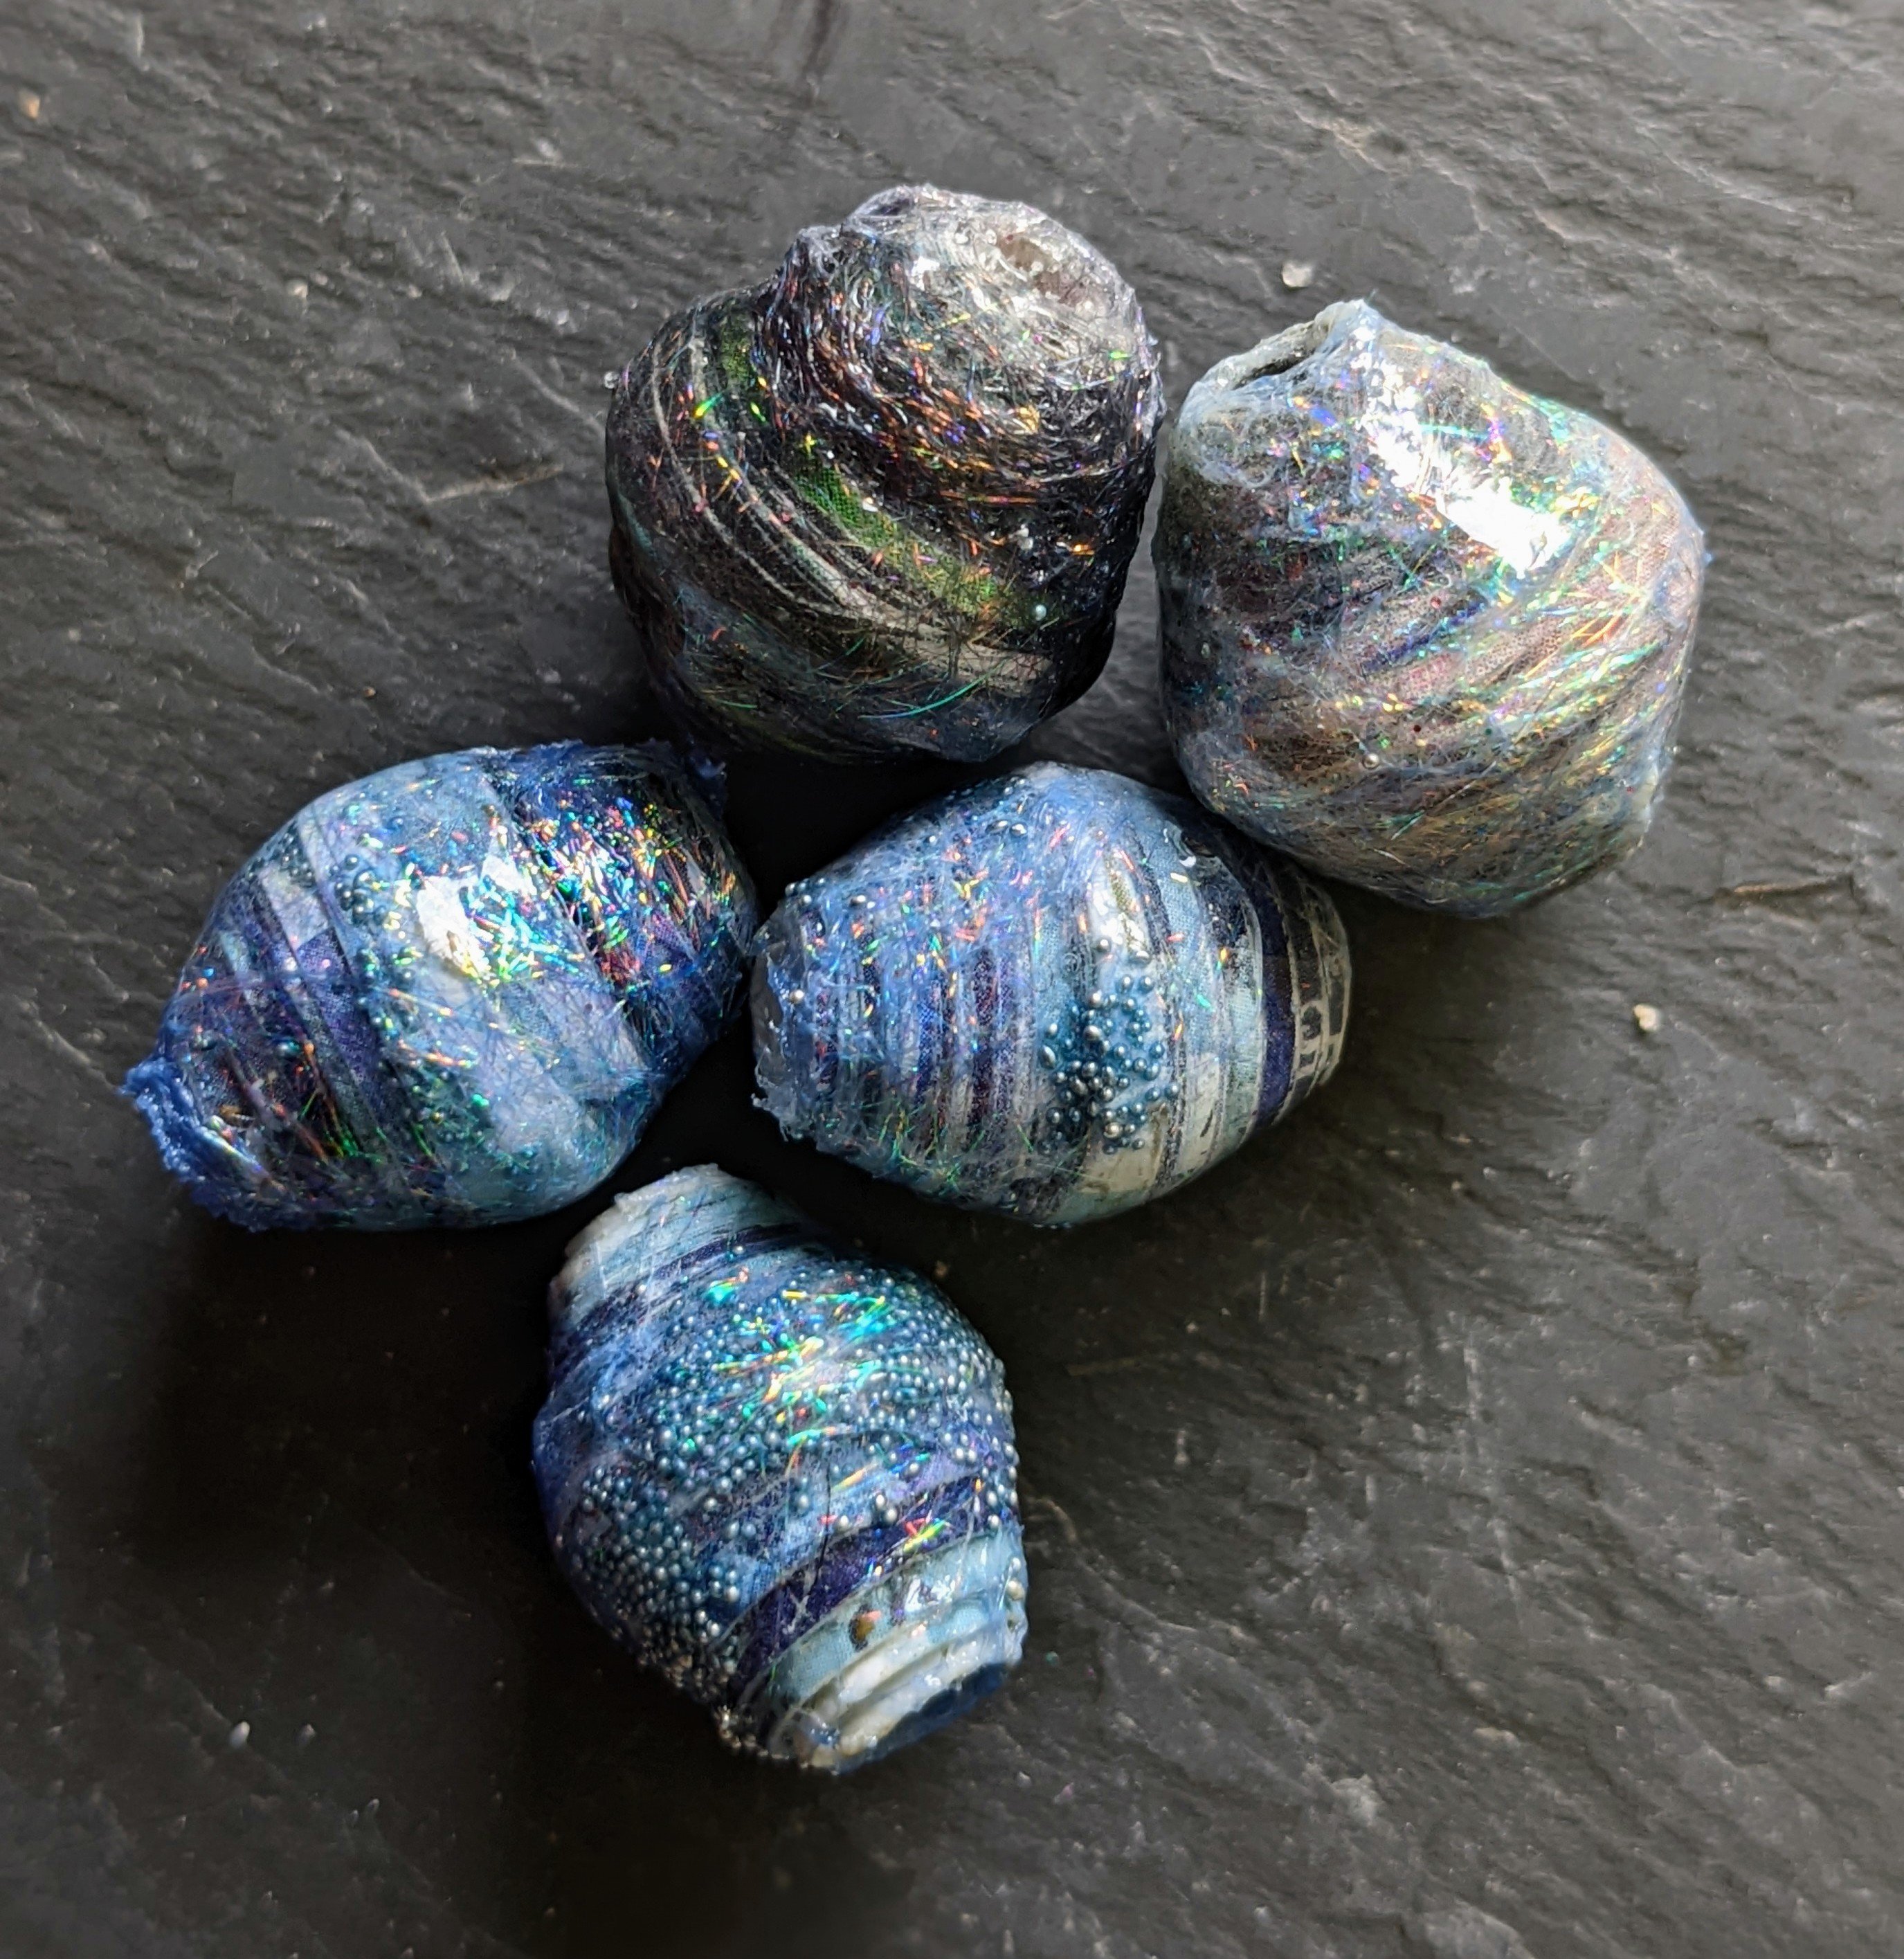
Paper, Angelina and micro-beads
Large magazine beads with Angelina and micro-beads
Round magazine beads and long beads wrapped in silver thread

These are examples of some more experimental beads. I tried to make some large statement beads using magazine pages. It takes about a page to make each of the big beads, so it is quite time consuming, as you have to cut a lot of strips.

I made the little ones at the top quite a while ago, so had another go using Angelina. It creates a delicious shimmer, but you have to be careful not to overheat it or you lose that effect and it goes dull.

Glitter and Angelina
Colourful tube beads

I love these colourful tube beads, which are made with painted cartridge paper. The ends have gold UTEE, which I prefer to the metallic paint I used in the pink and white cones.

Junk mail beads
Wrapping paper beads

These are my most recent beads. I have to say it’s very hard not to hang in to all the pretty coloured junk mail that’s shoved through the letterbox. I love those blue beads so much that I was sorely tempted to knock on my neighbours’ doors to see if I could get more, but I talked myself out of it. I have a lot of beads.

More junk mail beads
Paper beads and recycled beads
Conical paper beads hand decorated
Blue and green paper necklace
Pendant necklace with recycled beads, including turquoise
My colourful tube beads

And here is the jewellery I’ve made so far. I’ll be hoping to sell them at our exhibition next month, which has the theme of recycling. Then I’ll have space to make more beads.😜

Bottle Garden finished, and getting ready for Ramster

I’ve just dropped off my pieces for the wonderful Ramster Embroidery Exhibition. After a year’s delay it’s back on, which feels very exciting.

Ramster could be credited with starting me off on my textile journey. Before children, about 30 years ago, my father had lent us his car to go out for the day. We’d been to Petworth House and spotted the sign on our way home for an embroidery exhibition. I was blown away at the amazing art that had been created with stitch. Ten years later I began my City and Guild course and haven’t stopped since.

Bottle Garden

Here is the finished Bottle Garden piece, which I’ve blogged about previously. I asked my husband to build me a case to display the piece. As well as protecting it from dust and damage it creates the feel of a traditional museum case, which is the look I was going for. To enhance the look I got a little brass plaque made for it, and we reinforced the corners with some delightful embossed metal.

Brass title plaque

We ordered some perspex sheets from a site where you can get them cut to the exact size and then my husband made the case using some scrap wood he had. I hoard fabric and he hoards wood – we’re a perfect match.

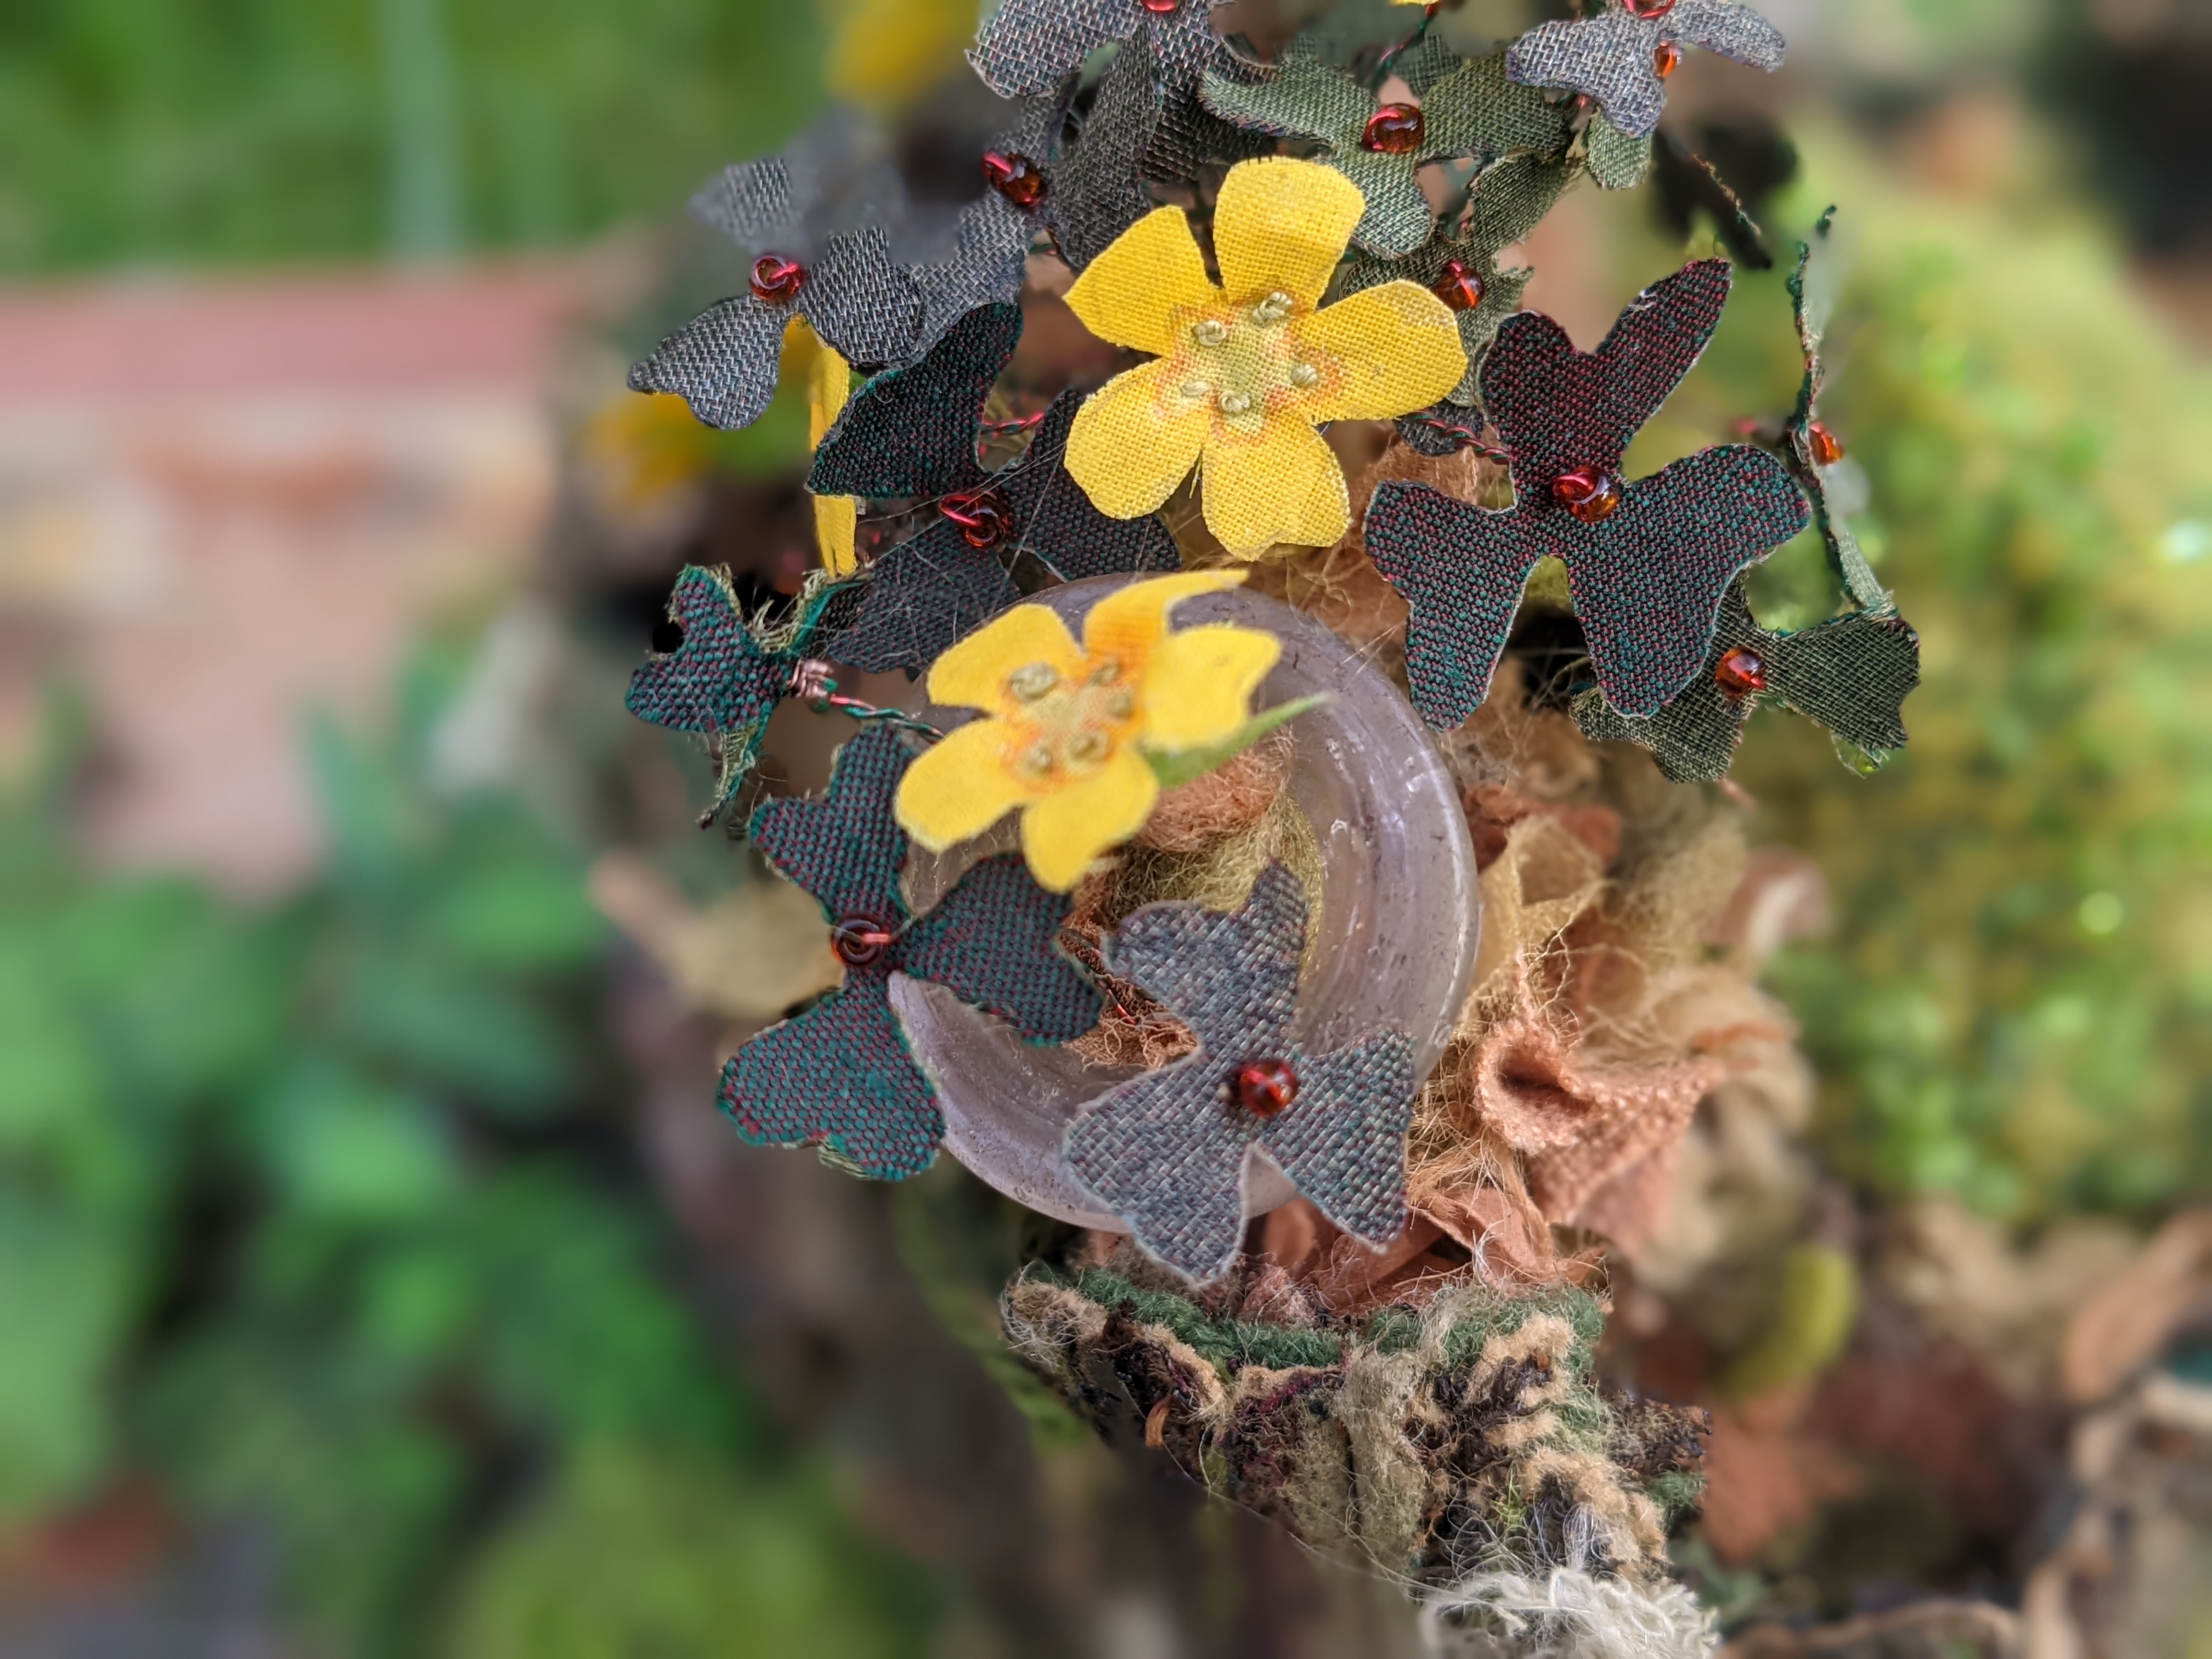
Here are some details of the piece taken in the garden.

And some close-ups.

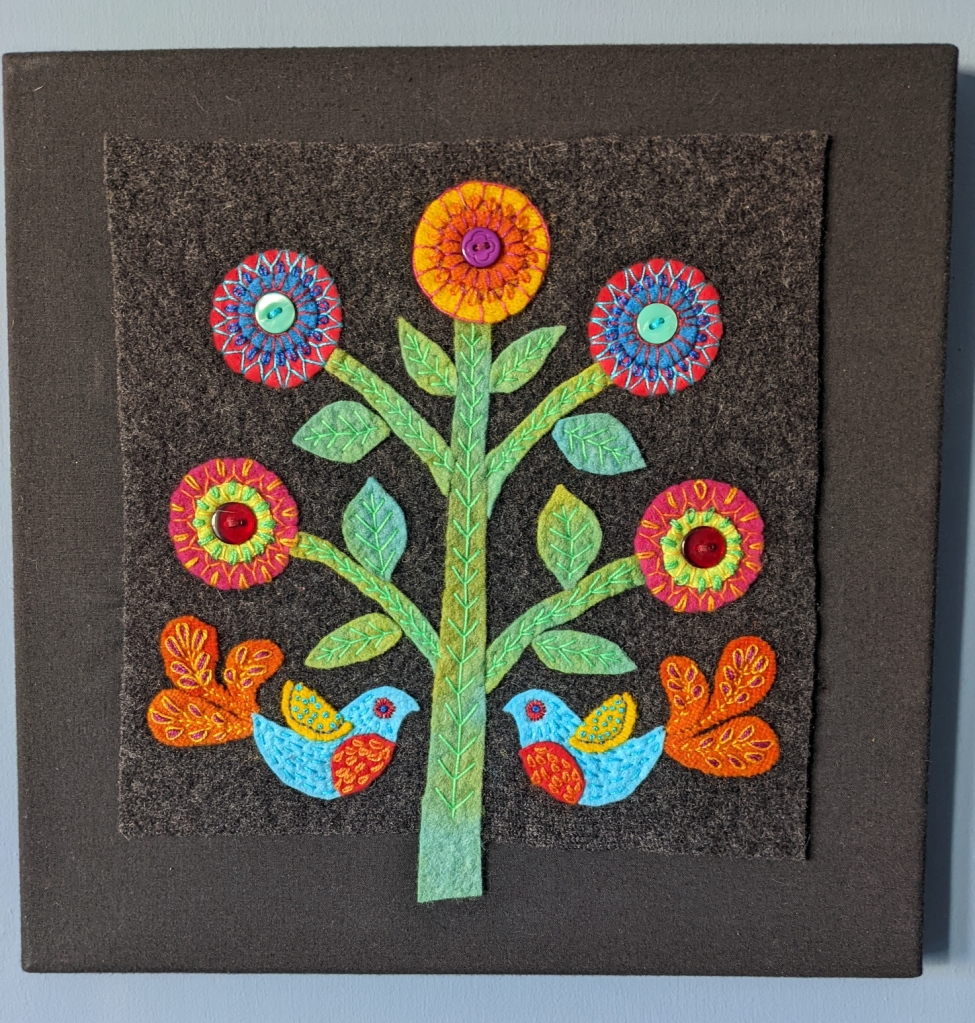
We are able to enter three pieces, and as I’m saving some work for the Wey Valley Workshop exhibition, which is taking place after a two year delay in the summer, I had to look around for some other pieces to enter. I found a couple of felt applique pieces I did last year. I’ve mounted them on a couple of canvases.

Folk Art Birds
Folk Art Flowers

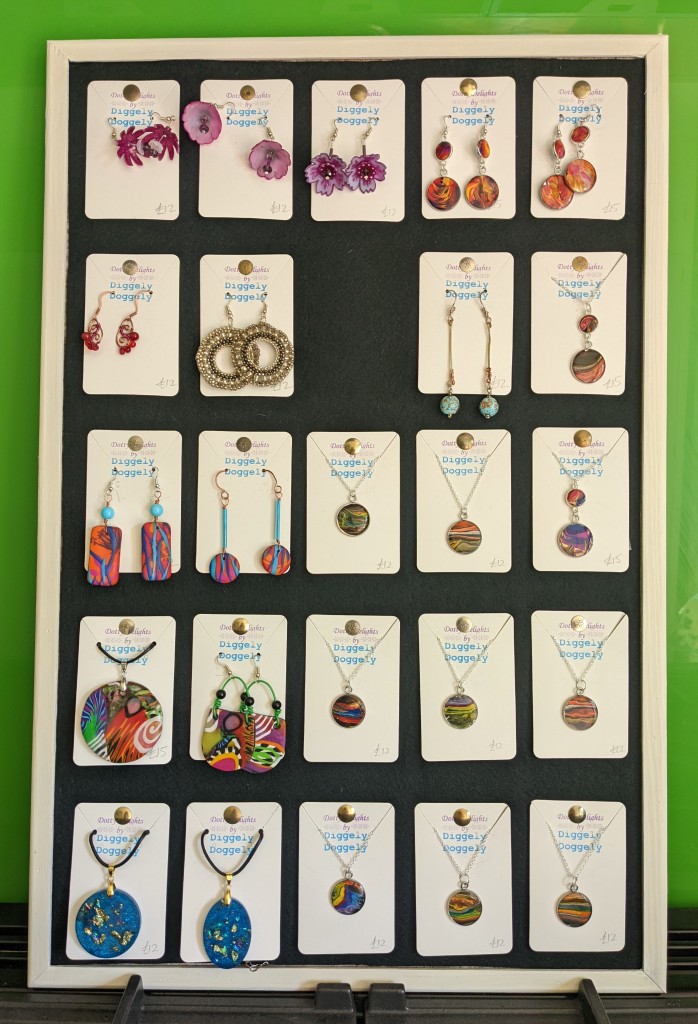
Finally, I’ve been making a lot of jewellery recently. There’s a limit to how much I can wear, so I’m hoping to sell some of it. I went through so many ideas on how to present it in the best way. My final solution, and both the simplest and the best was to show them on a pin board.

Jewellery presentation idea

I used an old pin board, cleaned it up, painted the frame and then stuck on black felt to cover the ropey cork. I’m very pleased with the final effect. I must’ve had half a dozen other ideas before I came up with this. As this is such a long post I won’t go through all the ways I made my pendants and earrings. Maybe you can guess some of them.

Now I need to go and clear up the workroom, sometimes known as the dining room.

And then I cut it up – textile exploration

At Wey Valley Workshop our next exhibition will be around the theme of recycling, so with that in mind we had a workshop where we all brought in a piece of work to cut up and share. We all ended up with 3 pieces, which we were to integrate into one piece. This is a fun challenge, with its own difficulties. This is what I ended up with.

At the bottom is my half a piece, which is mostly stitched paper with a little fabric. Above is a spatter dyed piece of cotton in totally different colours and above that a small appliquéd piece.

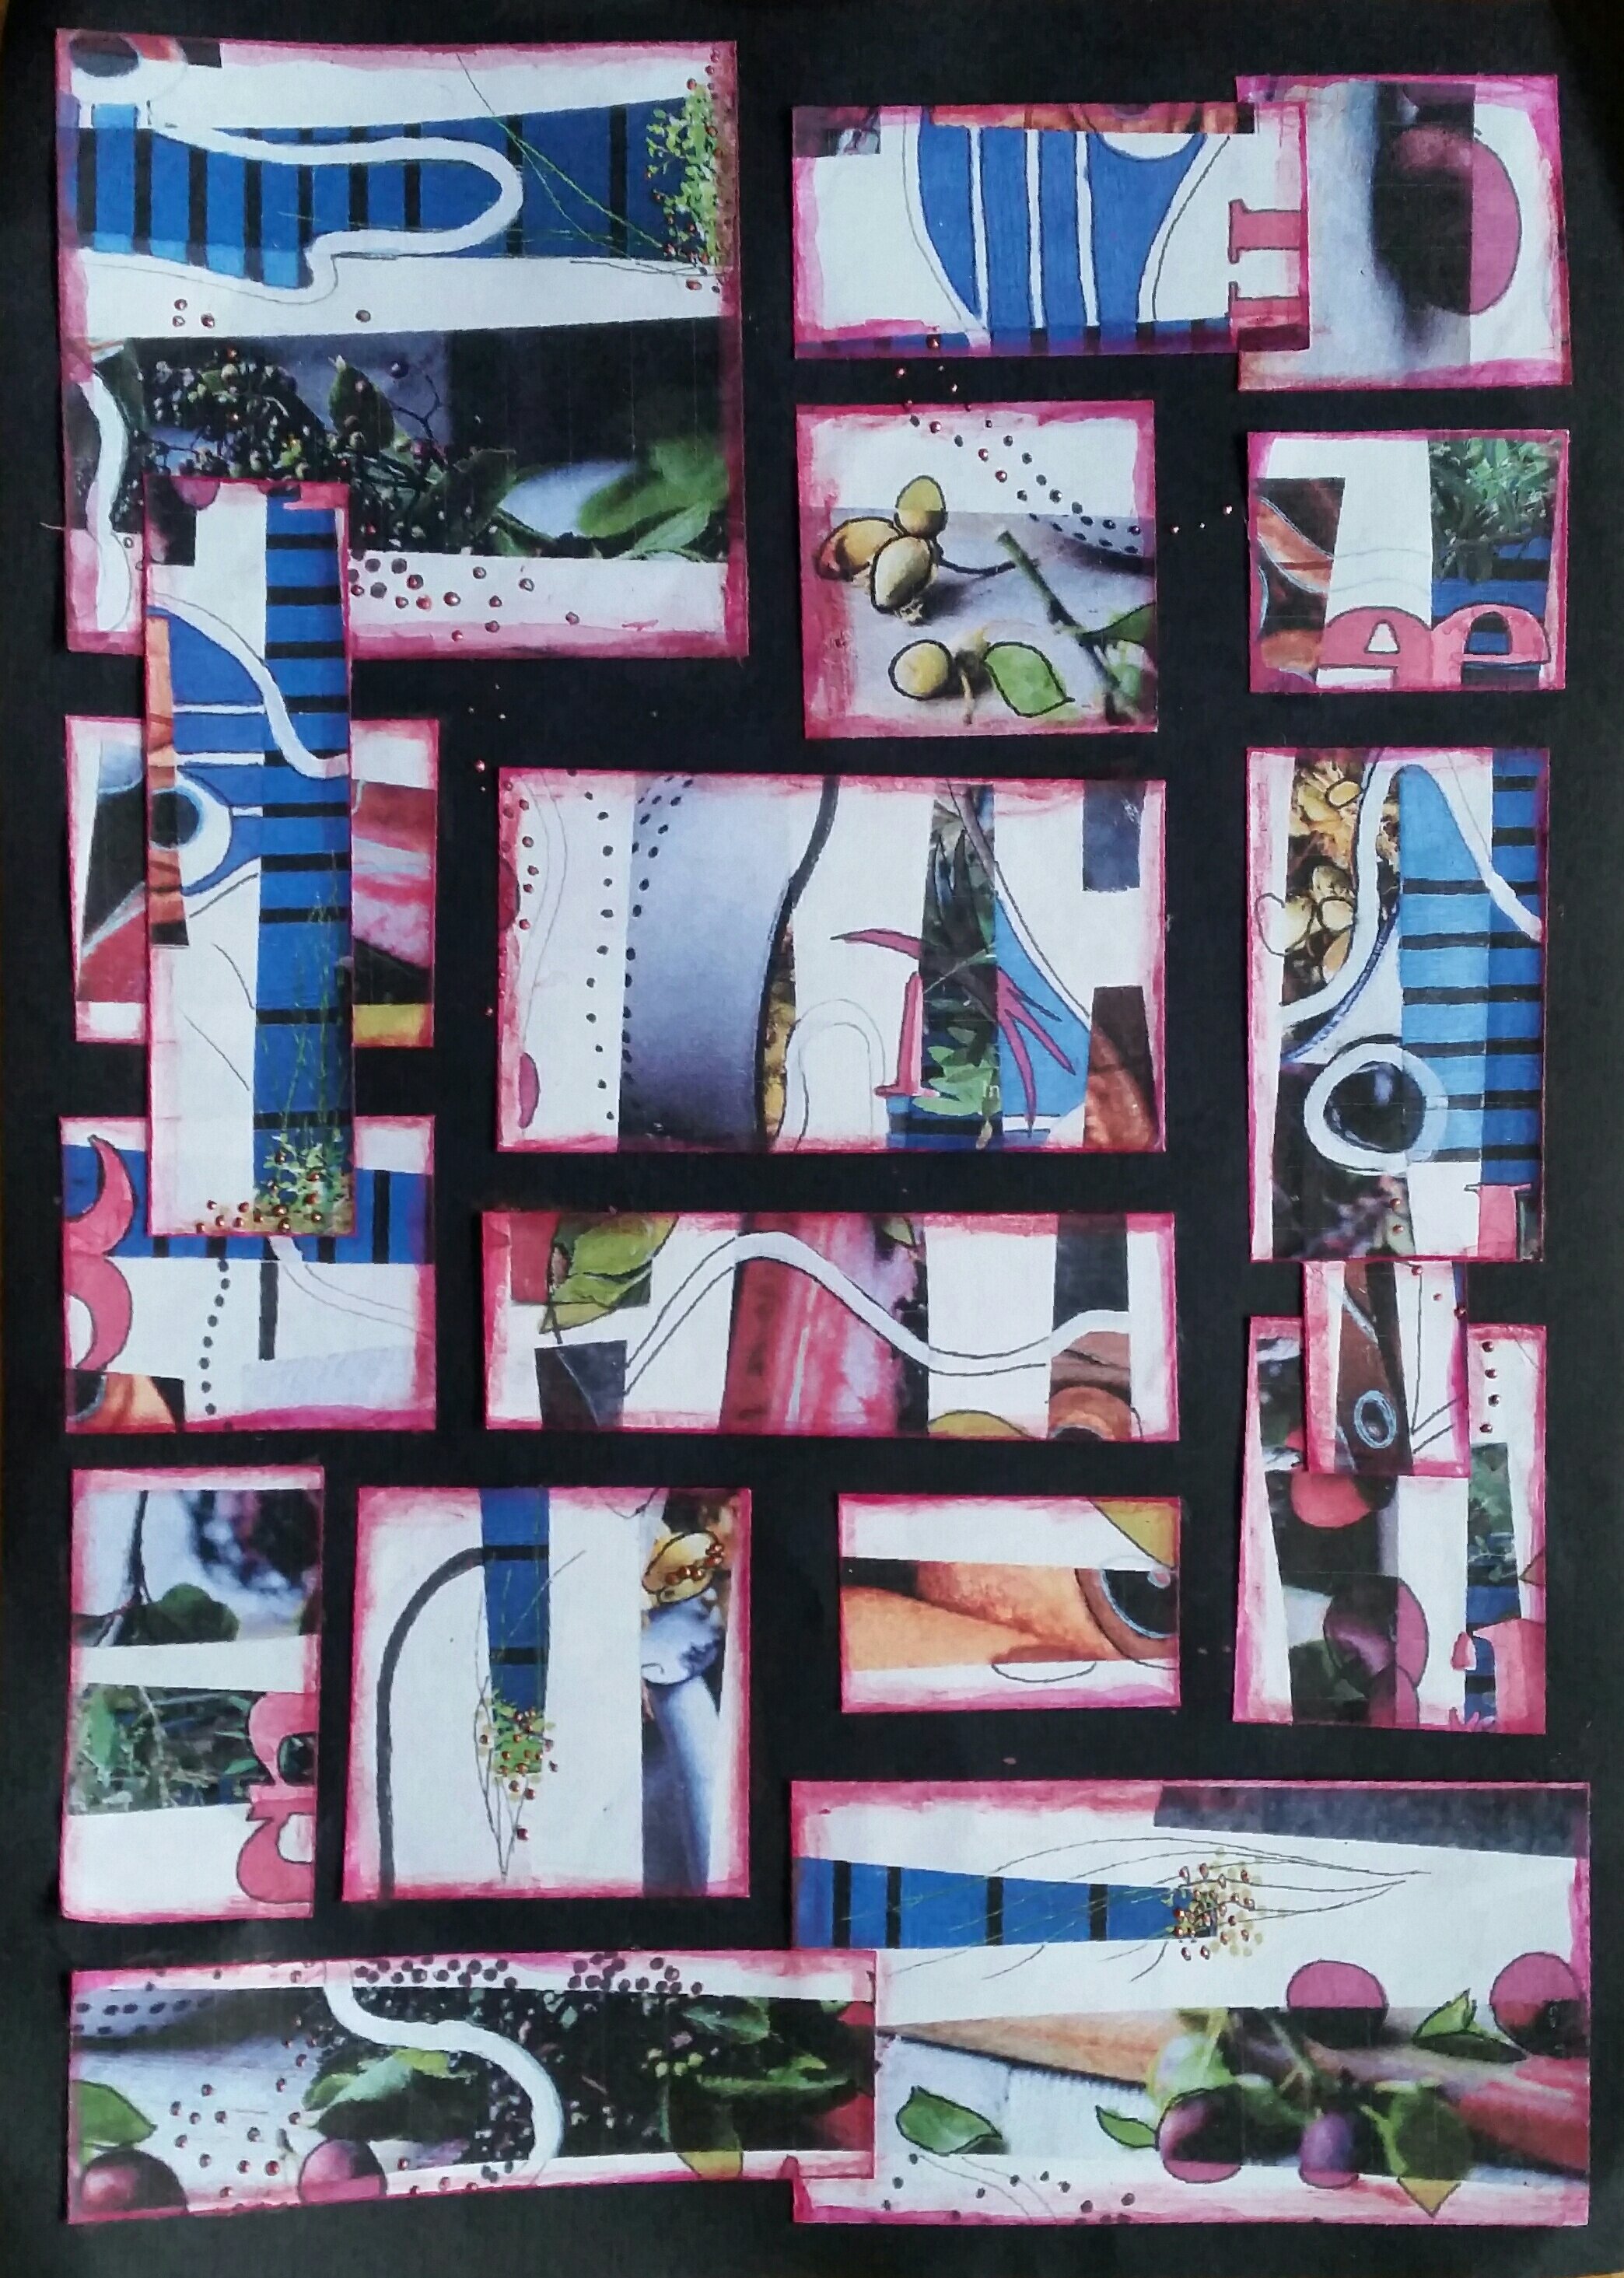
At the meeting we had a go at playing with magazine pages and blending them, which I finished off at home.

I copied it and cut it up, then rearranged the pieces to make a new design, which I took as my inspiration.

Then it was time to get those fabric pieces to go together.

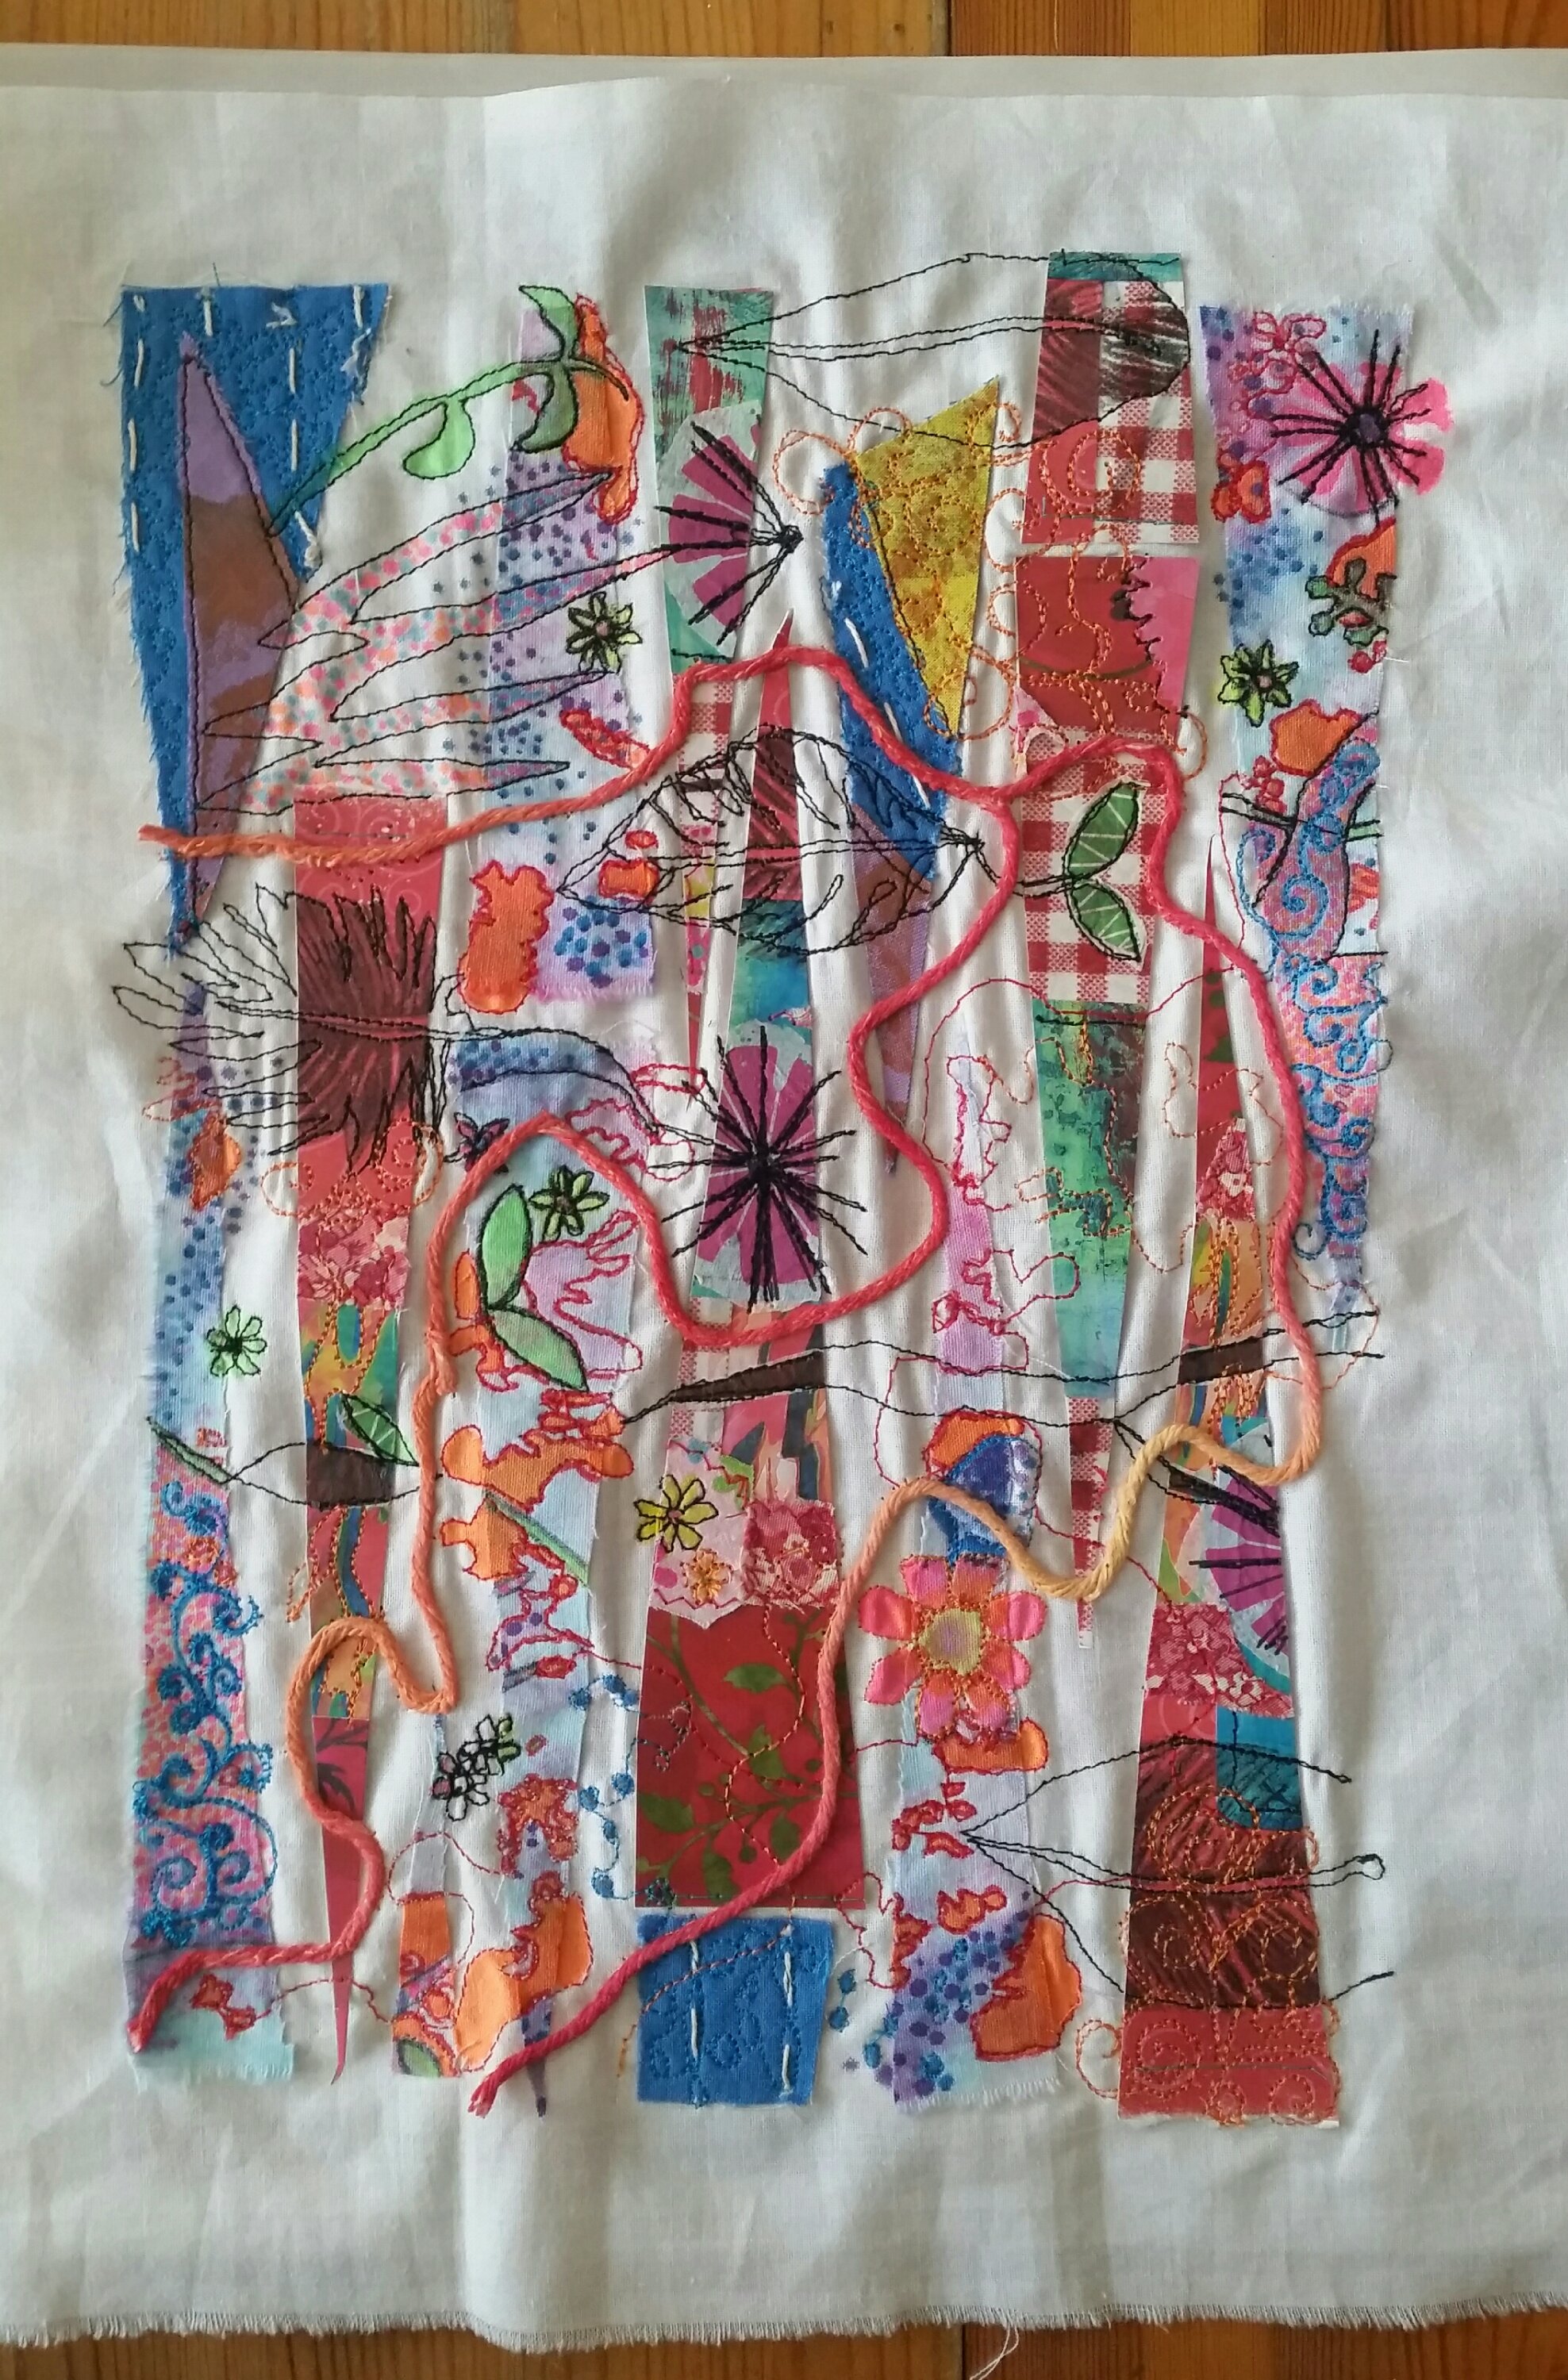
That splattered piece needed some work, so out came the fabric pens and I doodled away to my heart’s content. Then I cut everything up. There was much ruthless cutting in this piece, which can be hard when you like something.

This is my initial layout.

First lot of stitching to integrate.

Here I’ve applied some dyed string and done some more with those pens.

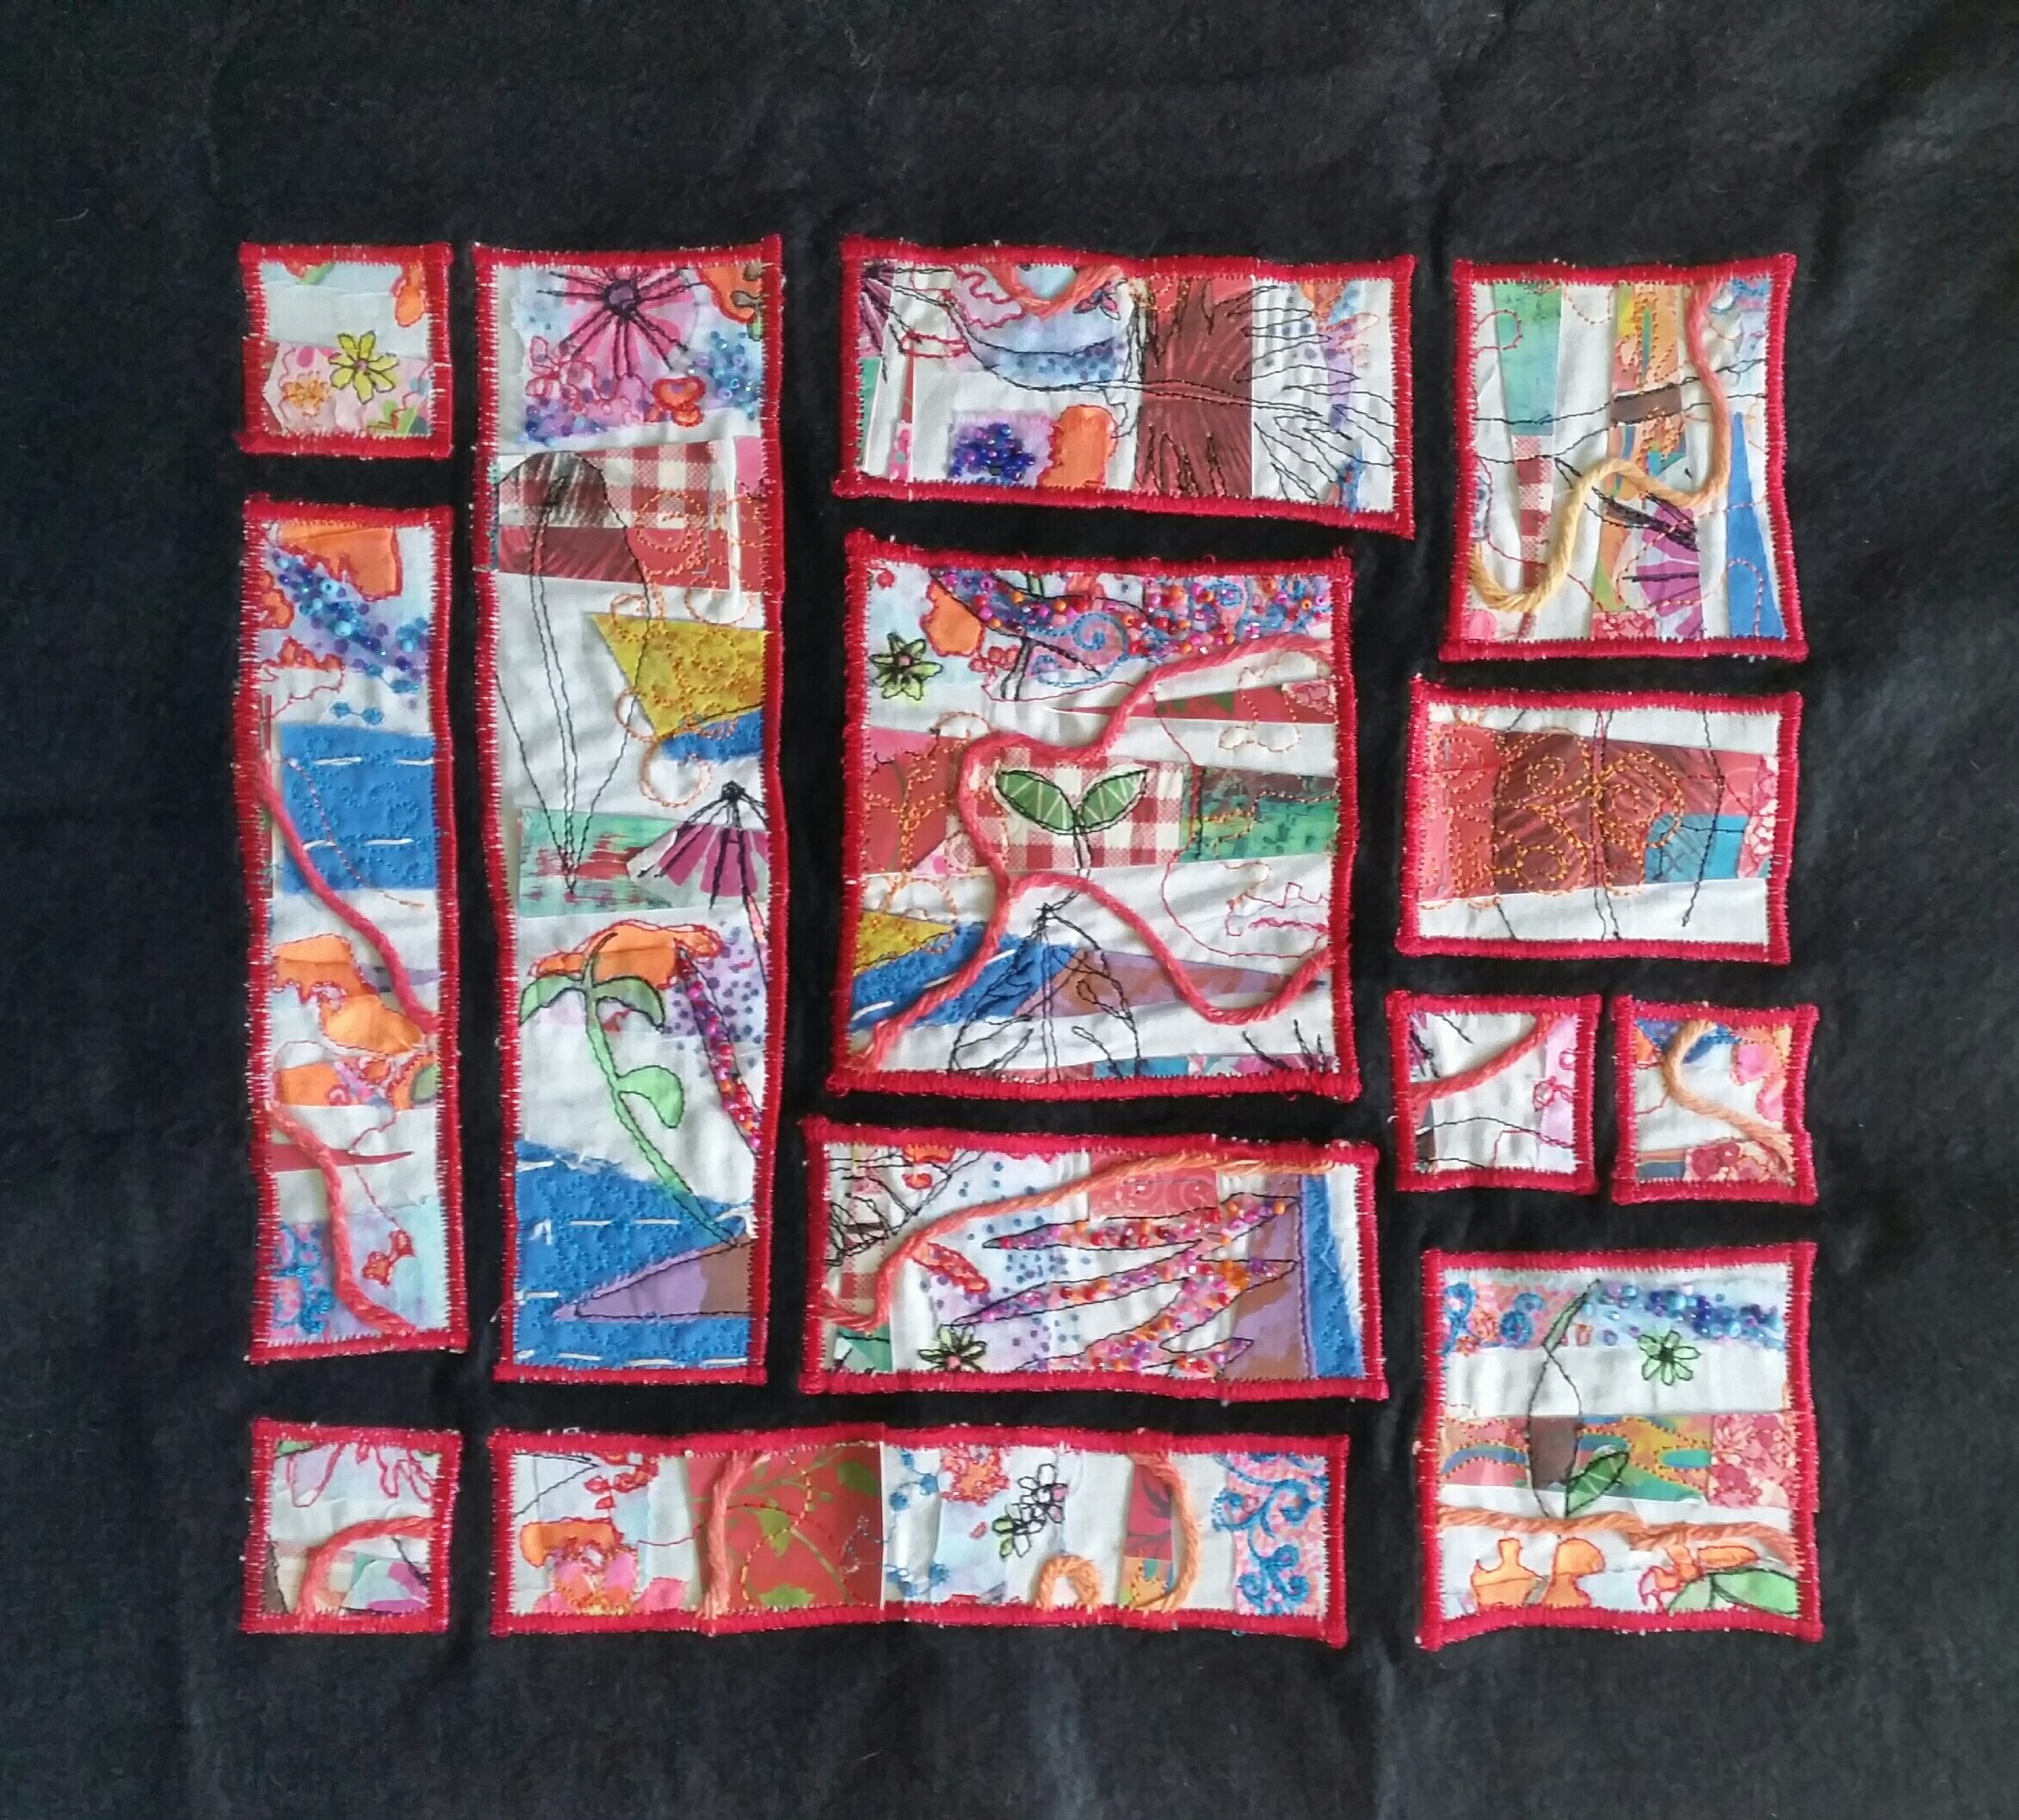
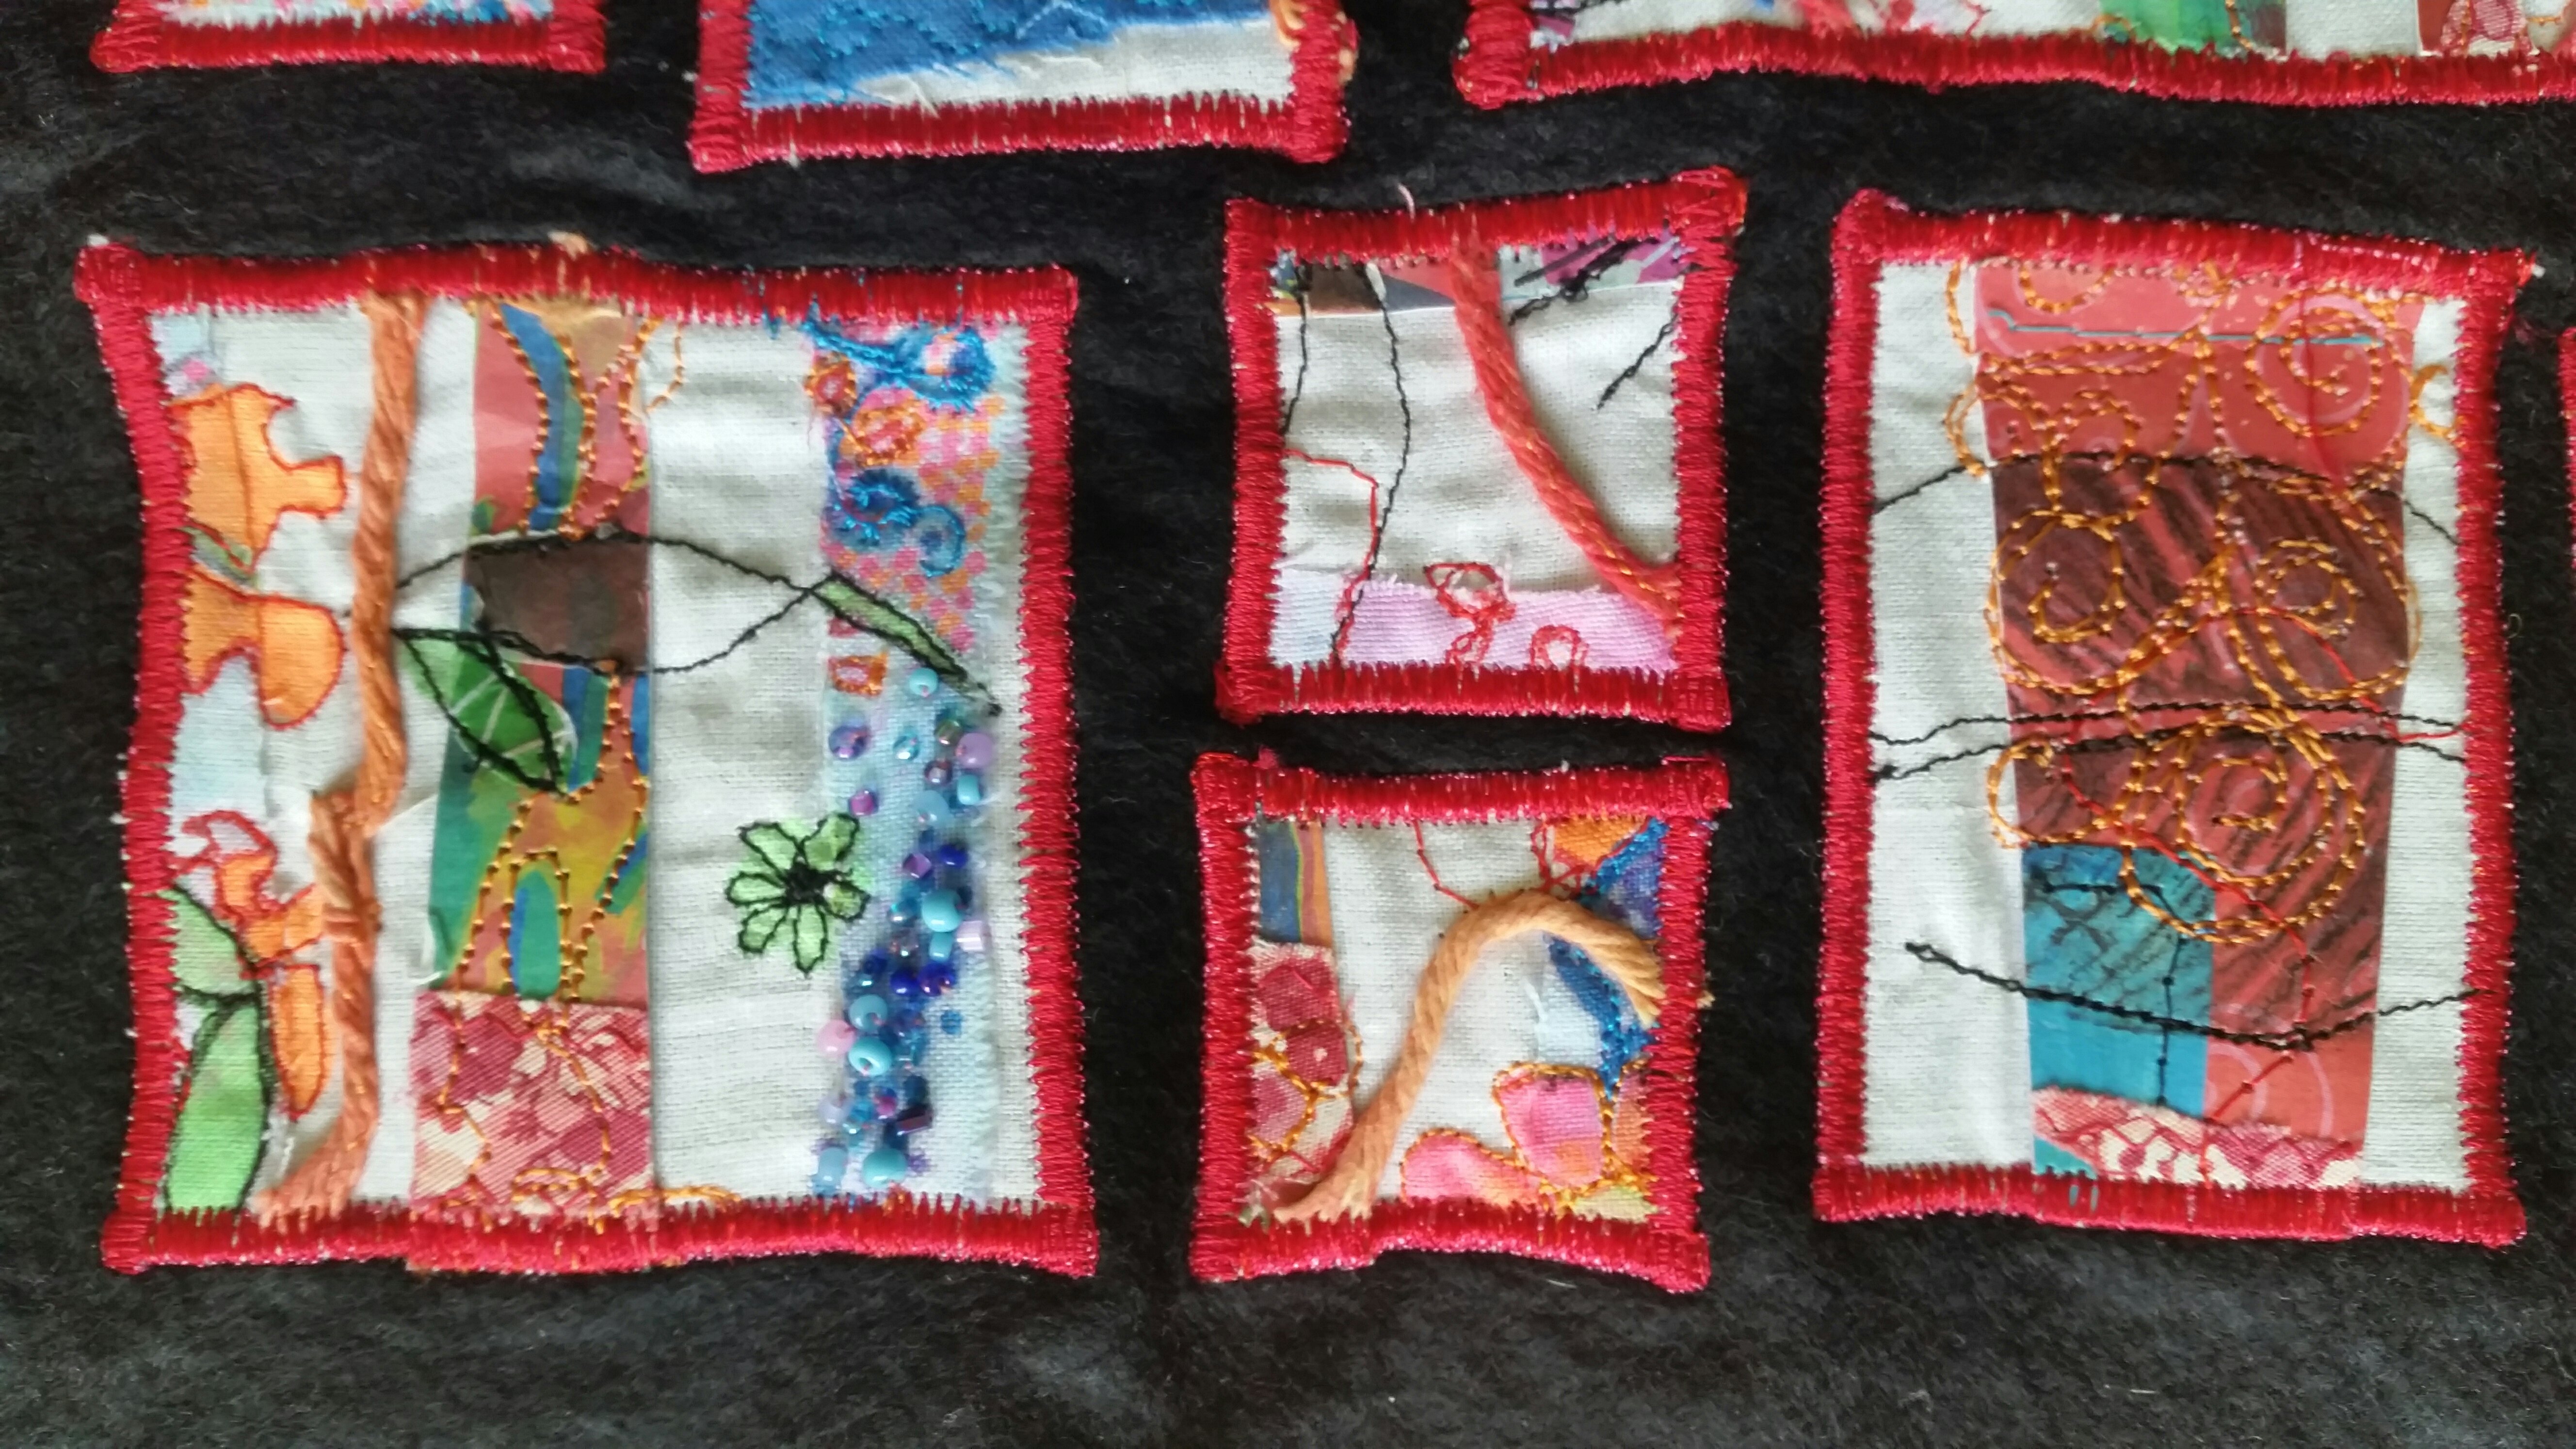
Then I chopped it up – again. It can be easier to do this from the back, so you don’t overthink it. I laid it out on black felt, playing around to find a pleasing composition. Once I was happy I stitched them down.

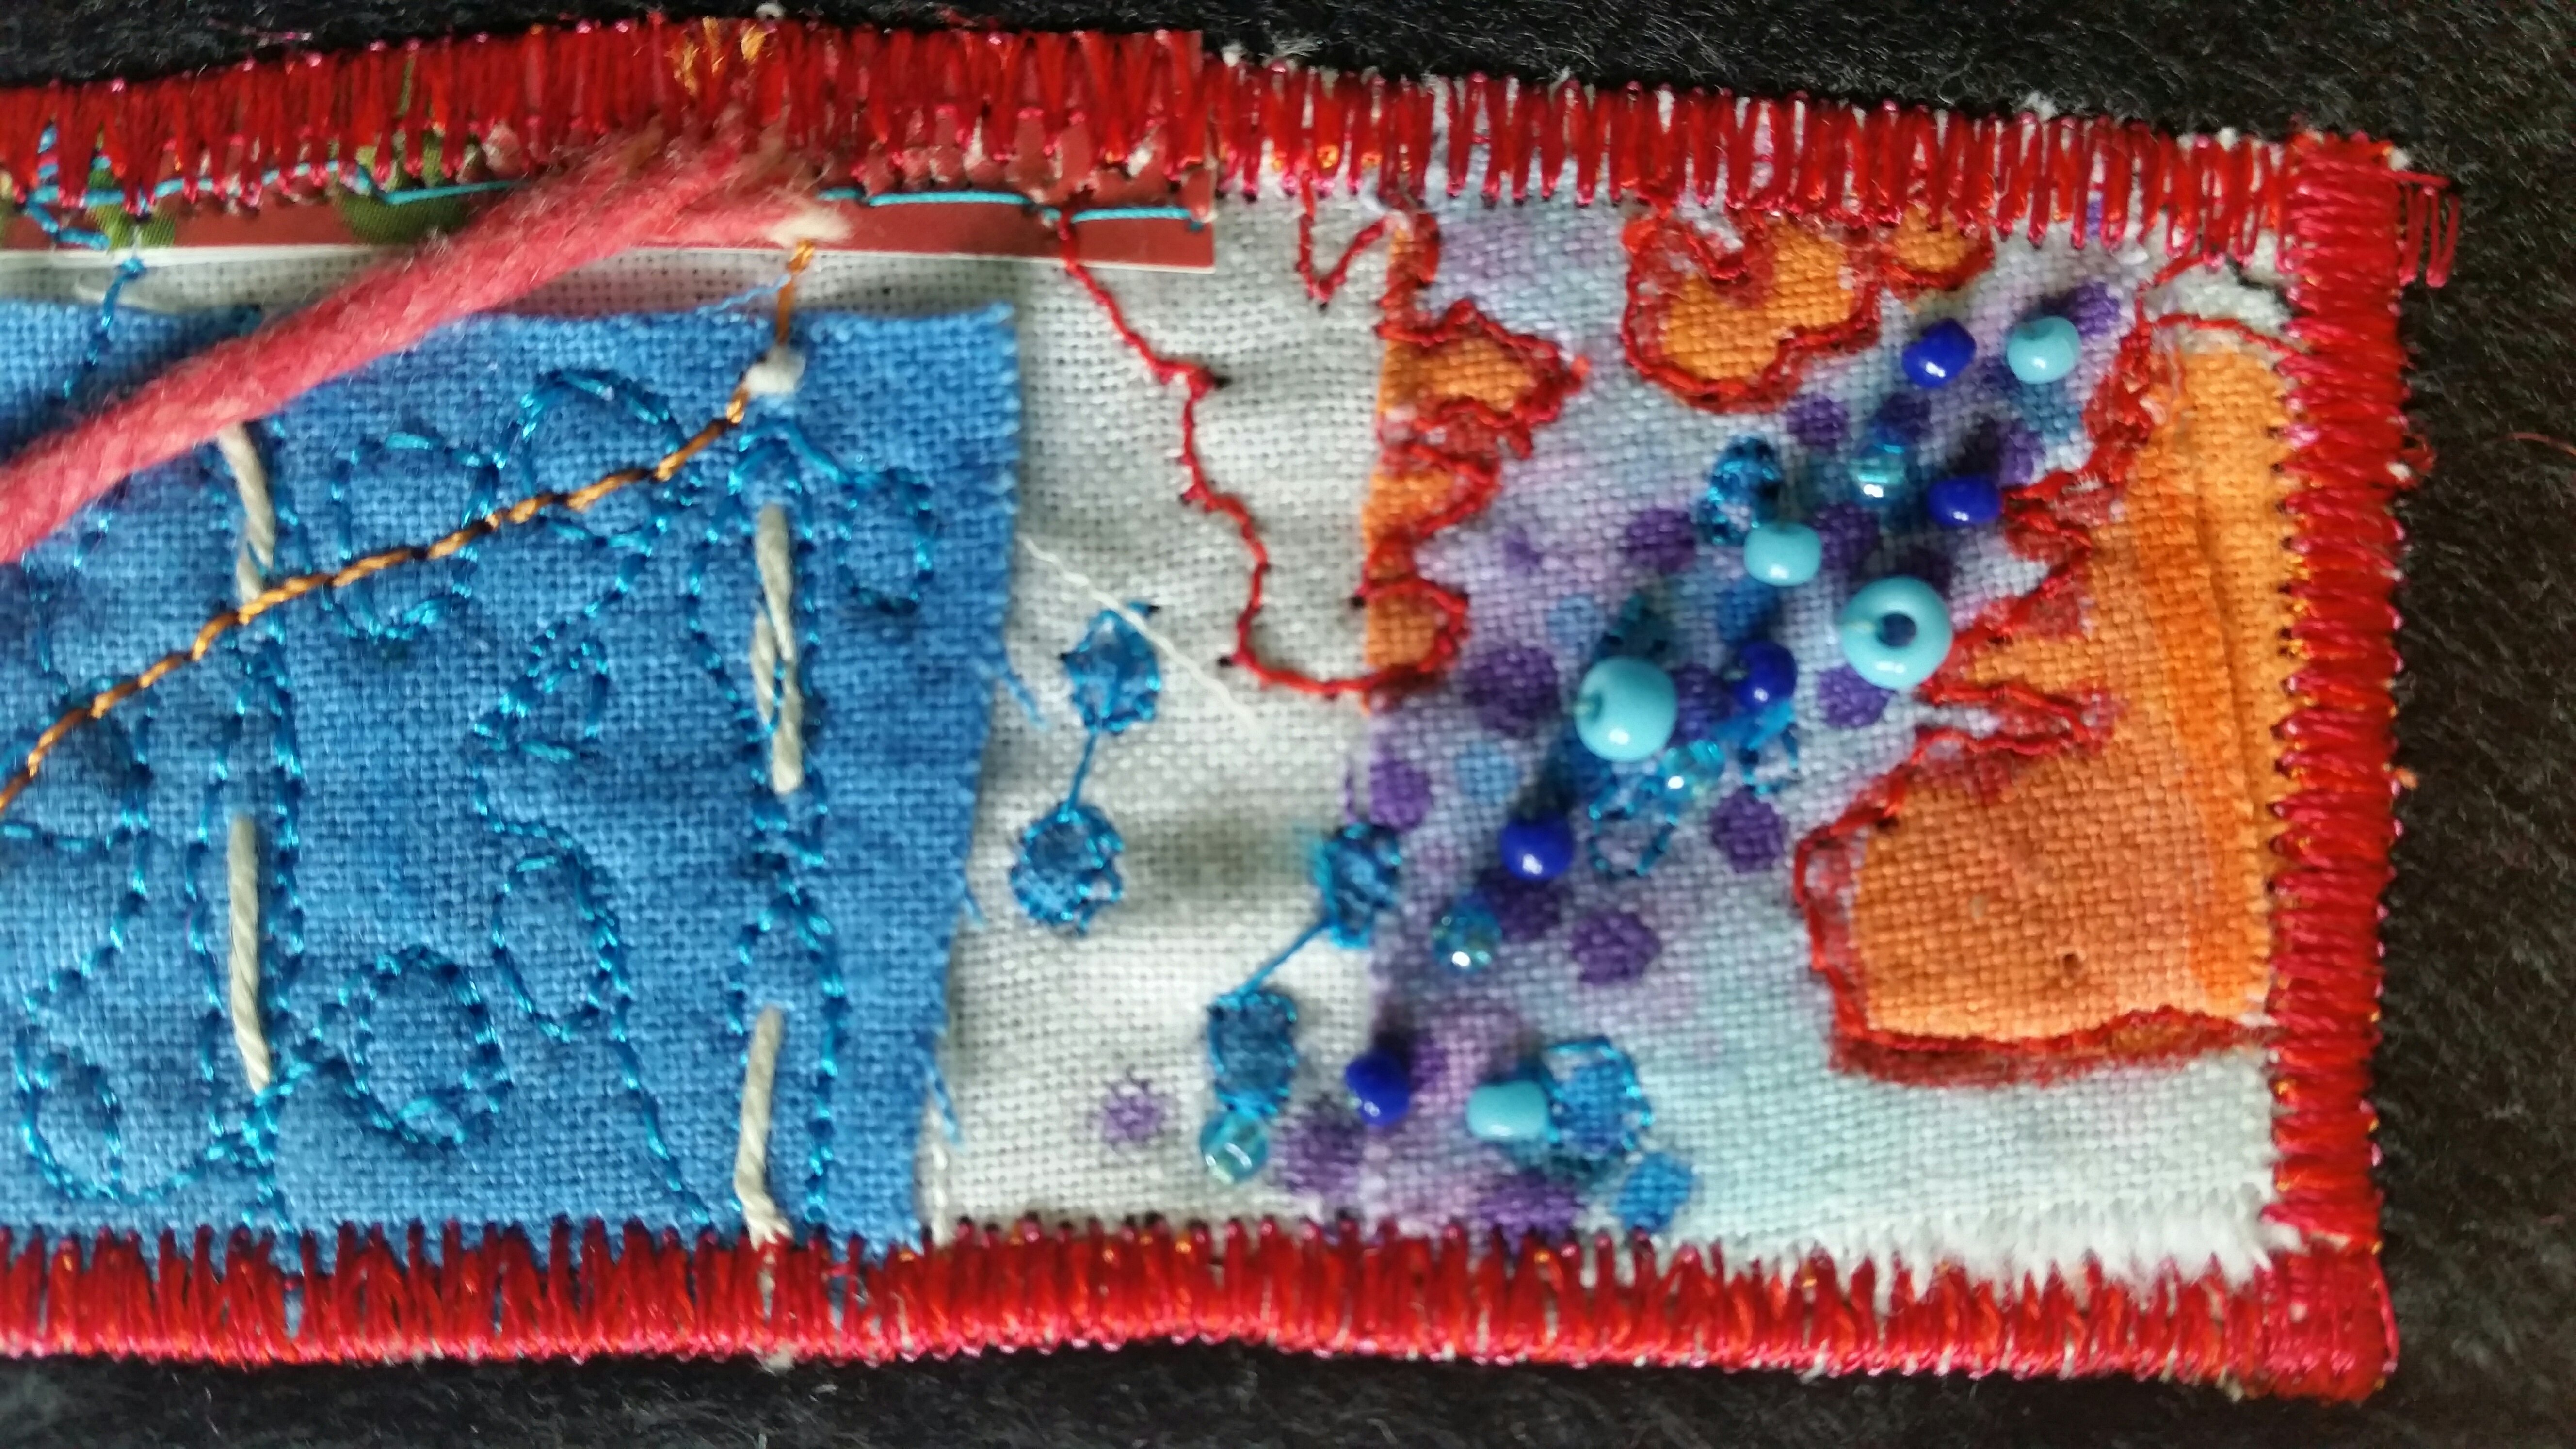
Each piece was then satin stitched with a mixture of red threads.

Finally, as the string was quite prominent I added some beads, to add more texture. So that’s it. Here are some details.

My last step will be to mount it.

I think I have my first piece for our exhibition.

Makeup bag for Christmas 

For our secret Santa at work I’ve been making a makeup bag as my gift. A couple of years ago I was given thus gorgeous curtain fabric sample by a friend,  who thought I might be able to do something with it.

Embroidered curtain fabric sample.

I’ve just made a simple flat zipped pouch. Here it is halfway through. 

Pouch in the making.

The bag has interfacing sewn to the outer fabric to give a bit of body. The blue zip picks up a colour in the butterfly wing and the lining is green. I covered the ends of the zip – that caused me some grief. If you make one of these bags be careful not to make the coverings too thick. When I’d finished I couldn’t push out the corners and ended up dismantling the whole thing so that I could cut out the excess. It was a combination of having 4 layers and using a heavyweight furnishing fabric. 

Never mind, it’s all a learning process. I’m very pleased with the result. 

Butterfly pouch

Back of butterfly pouch

Inside the pouch.

As a finishing touch I added a little butterfly bead to the zip.
Hopefully it will well received. 

Rose Corsage

About 5 weeks ago we had a workshop at Wey Valley Workshop with the amazing Michele Carragher. If you’ve seen Game of Thrones you’ll have seen the beautiful embroidery she has done on the costumes, but I recommend checking her website. http://www.michelecarragherembroidery.com

We were making a corsage she had designed for Nicole Kidman to wear in the film ‘Queen of the Desert’. Michele was so generous with materials and expertise. We had a happy day stitching, but it probably took me another 3 days worth of sewing before I finally finished it.

image

It is made up of a lot of different elements. We made the beaded bits on the day.

image

The petals are painted velvet with a wired edge and painted organza layered over the top.

image

image

Here you can see lots of different beaded sprigs lying over a spray of velvet leaves.

image

There are two types of leaves. These ones are embroidered over two layers of sheer fabric. There was a lot of work with these leaves, the spray of velvet leaves and all the rose petals which all had wired edges.

image

All finished with a bit of ribbon. Now when shall I wear it? That society wedding, Royal Ascot or a film premiere?

Handmade Felt Books

image

Stitched spines on my felt books

I have an embellisher attachment for my Bernina, so when I had a load of scraps of felt I embellished them all together to create a large piece of cloth. It took a while to decide what to do with it as it was so yummy, but in the end I made three books to sell at our exhibition.

image

Buckle fastener

This is the first one I made, to which I added a leather strap. The buckle is from an old watch strap (never throw things away!).  I made the strap using some scraps of leather and attached it using my new rivets. That was decidedly tricky.

image

Back of the book

You can see some beading on here. Felt and beads go well together. It’s the combination of textures. As well as felt I included some dyed scrim and various bits of yarn.

image

Twig fastening

I saw something similar to this on Pinterest and thought I’d try it out. I love the effect. The twig came from a beach in Devon.

image

A tray of rings

I also made these rings. Hopefully they’ve sold so I can make some more as I do like making them and want to try some new designs.

Needle felted brooch tutorial

This Friday I’m doing a workshop on needle felting a brooch at Guildford
House, so I thought I’d do a post on it.
These are a few I’ve made as samples

image

So, you need a piece of foam or you can use a special brush to stab into. I’ve used foam placed on a hard protected surface. As a guide choose a biscuit (cookie) cutter in the shape you like and put it on your foam.

image

I’ve chosen a pig for this one. Then pull, (don’t cut), some fleece and push it into the cutter.

image

Then take a felting needle and stab vertically down into the fleece. The needles have barbs on them, which mat the fleece together.

image

Before needle felting

image

After needle felting

When it’s started to stick together take the cutter off and peel the fleece off the foam. There may be bits of foam in the back, so pick them out. Then turn the cutter over and push the fleece back in the other way up and needle it again. You can use the needle to adjust the fleece into corners. If you don’t have enough fleece just add some more and needle it in.
Keep doing this until the fleece maintains its shape. Then you can remove the cutter and very carefully needle the edges. Mind your fingers – those needles are very sharp!

image

Now you can add some detail if you like. The pig is a sort of soft lilac, so I added some pale green patches.

image

image

Then I added an eye in a scrap of indigo.

image

Finally finish off your brooch by stitching a brooch back onto the back.
Other things you can try is to needle some fabric on, which is what I’ve done with the dog’s coat, using a scrap of tartan wool. I wrapped it round to the back.
You can felt wool (yarn) to create detail.

image

On this bird I am felting wool onto the tail, which is made of a bit of felted jumper. The legs were made with thick wool needled onto the back and knotted.
On the face I’ve created a 3D nose by making a ball felting it a little then felting it on to the face. You can adjust shapes with the needle. The blush on the cheeks is made by putting the fleece on the back, which creates a softer look. I stitched on some beads for earrings.
You can also use textured wools to create more effects, which is what I did with the flower.
Hope you enjoyed this tutorial and have fun.

First Craft Stall

image

My stall at a Rock Choir event.

image

Potential customers!

image

Some bags for sale.

image

My homemade bracelet and necklace display.

image

The rest of my necklaces were on the painted sticks.
This was my first attempt to sell some of the jewellery and bags I keep making. In the end I sold 2 necklaces and a pair of earrings, so not much, but it’s a start.